


Readers who are looking to come into the upcoming cyclocross season with a set of new tubular tires have hopefully already bought them months ago, and we have written an article explaining the reasons behind this. If you’re late to the party, you should think about ordering them as soon as possible. Now that racing is almost upon us, you should consider sealing the casing to extend the life of your investment.
While many tubular cyclocross tires have no need for the application of extra sealant (think of the rigid, robust sidewalls on a Tufo, for example), the more supple and sensitive sidewalls can benefit from extra protection from water absorption. For the ultra-supple, pricey tubulars that feature natural casings made from cotton or silk, like Dugasts and FMBs, some form of sealant is a necessity. Otherwise, get the tires wet often enough, and they’ll start to rot – not what you want to see from some of the most expensive ’cross tires on the market.
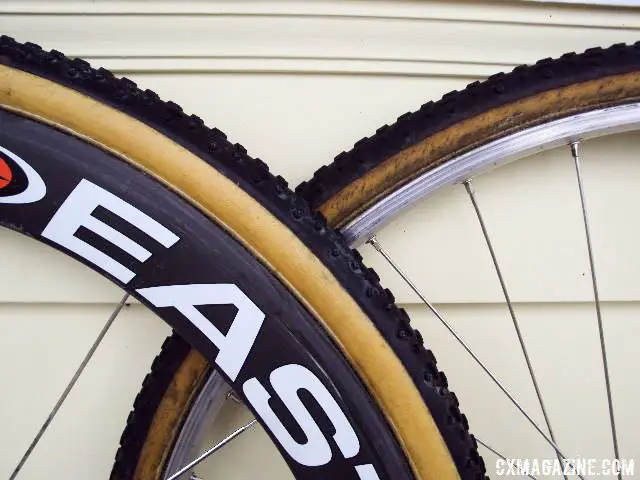
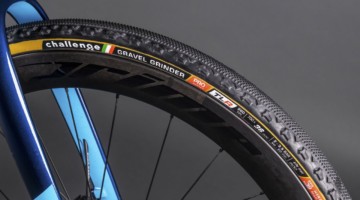
One Challenge cyclocross tubular sealed with urethane, one not. Can you tell the difference. © Cyclocross Magazine
With a tubular like Challenge that has a very supple sidewall but has a poly casing, the tire is not in danger of rotting from moisture. However, an application of sealant will definitely keep the tires looking a whole lot better and will add longevity and protection from abrasions to your setup as well. See the photo of two Challenge setups above. Both wheels have similar miles on them.
AquaSeal is probably the most typical sealant used for tubulars like these, but the trade-off, because the tube form is quite thick, has always been a compromise in the tire’s suppleness, which defeats a good chunk of the purpose of buying such tires. But the liquid for of urethane which goes on like paint, remains very flexible when dry and does not affect the suppleness of the tubular casing.
Dave’s Secret Sealant Tip:

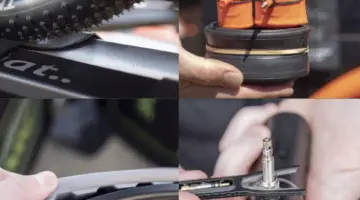
Application in action – to a Dugast © Dave Drumm
Although many people swear by McNett’s Gear Aid Aquaseal Urethane Repair Adhesive, which retails for $24.99 for an 8oz tube, I prefer using a thinner, less shiny, easier to apply sealant like McNett’s Tent Sealant (Gear Aid Tent Sure Tent Floor Sealant) that retails for less than $9 for an 8oz bottle). The Tent Sure Urethane Sealant, designed for tents as the name says, is available at most camping supply stores, and helps to prolong the life of your investment – let’s face it, tubular tires are not cheap. This is a very inexpensive and easy procedure that will ensure that your sidewalls last as long as the tread, provided you don’t rip a large gaping hole in them during a race.
The Process:
I recommend that you start on a NEW tubular that you have mounted. Wait until the you’ve completed the gluing process and the tire is fully set up before applying the liquid urethane.
Using a small foam brush, paint on a thin even coat of the liquid on the sidewall only. Cover the full sidewall from rim to tread. Try not to get the urethane on the rim – but if you do, don’t worry too much because it’s designed to bond to canvas, cotton and silk and doesn’t adhere well to rubber, carbon or aluminum.
Once you have applied a thin coat to both tire sidewalls, visually inspect the tire in a well-lit area to make sure you have not missed any spots. The urethane will have a slight sheen to it and it should be fairly easy to pick up on any spots that have not been coated. Once your sidewalls have a thin even coating, it’s time to let them cure. The curing process takes 24 hours. That means not riding them for at least a full day or all of your hard work will be in vain. The tire should be allowed to cure in a warm room; if you do work in an unheated or damp garage, bring them inside to dry for the 24-hour period.
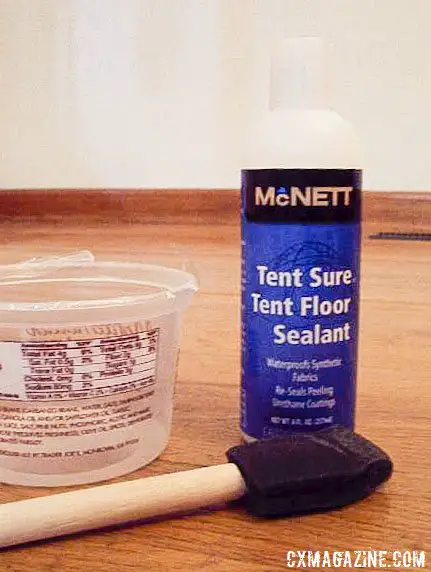
McNett’s Tent Sure Liquid Urethane Sealant is perfect for a batch of cyclocross tubulars and cheaper than Aquaseal. © Cyclocross Magazine
If you did get the sealant on the rim, remove it before using your newly sealed tires. To remove excess sealant from the rim take a razor blade and LIGHTLY follow the curve of the tire where it intersects the rim in the offending area. This will cut the junction of Urethane between the rim and the tire allowing you to scrape the sealant from your braking surface without damaging the sealant that is on the tire sidewalls. You can easily use you finger nail or rag to scrape the excess urethane from the rim.
Once the rubber is dry and your braking surface is urethane-free, you will have tires that will clean easily and look good after a hard weekend in the nastiest of conditions – just like Sven Nys!
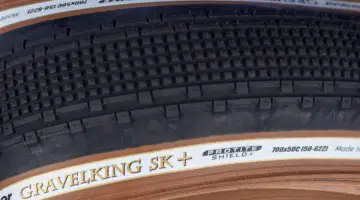
Note that some tires, like those offered by Vittoria and Clement, offer coated sidewalls that offer similar benefits as sealant.
Thanks for reading, stay tuned for more weekly wrenching tips. Also don’t miss our exclusive tips that involve a similar technique to seal your cycling shorts to keep your chamois dry throughout a wet cyclocross race.
Written by Dave Drumm & Josh Liberles