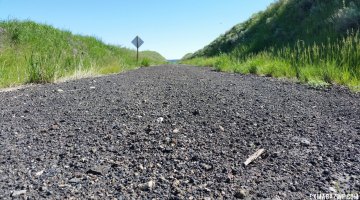


After a season of this, your bike needs some TLC © Tom Olesnevich
Before you forget that still-muddy skinsuit you left in a corner of the basement after your last race and put your bike away for this “offseason,” Dave Drumm has some tips that will help preserve your rig and have it ready to roll when it’s finally another ‘cross season already.
This is the tenth installment in our series of from-the-crew-pits tips. Some will be straight-forward, others more involved, but they’ll all help you to keep your cyclocross bike humming smoothly along. Catch up on the last article about the daily maintenance and inspection routine.
by Dave Drumm
Cyclocross season has ended for almost all of us and it’s time to hang up the bike. Before you do, there are a few things you can do to ensure it’ll be ready to roll when the time comes. First thing’s first: clean your bike. Before you hang it up, clean it well and give it a good inspection as outlined in the previous Mechanical Mondays post.
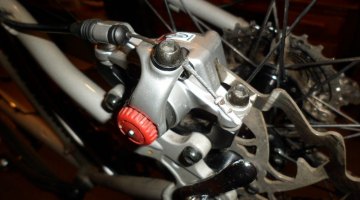
Once the bike has been cleaned, dried and inspected, it’s time to get down to the nitty gritty. The level of detail depends greatly on your mechanical fortitude. If you have the trust in your abilities and the right tools for the job, strip the bike to the frame and clean and inspect everything. Remove the brakes, stem, front fork, crank and bottom bracket. As you pull each piece, inspect it, clean it (including the BB shell) lube and reassemble. Make note of suspect parts like headset bearings and bottom brackets as you go and replace as necessary or keep a detailed list of problems that you’ll need to address before the start of the next season. If parts are worn, it’s a good time to think about upgrades.

Giving the bike some mechanical love! © Andrew Yee
If stripping your bike down to the bones is a challenge you care not to tackle, give the bike bike a good once-over. Make sure everything is clean and moving freely. Using electrical tape, mark the seatpost height where it makes contact with frame. Remove the seatpost and flip the frame upside down. If water comes out, let the bike dry overnight before cleaning, lubing and reinserting your seatpost. If you have a carbon frame and seatpost, be sure to use a carbon paste for this and not regular bike grease. If a lot of water comes out, it’s a good idea to remove the bottom bracket and inspect an clean and lube the BB shell threads. If you don’t have the tools and know-how, you can always call a friend and do this over a beer or two. You don’t want moisture trapped in a frame that is going to sit stagnant for a length of time. Once you are sure that the frame is moisture-free, put a dab of grease on the BB threads and reinstall. Lube your seatpost with a small amount of grease or carbon paste and reinsert it.
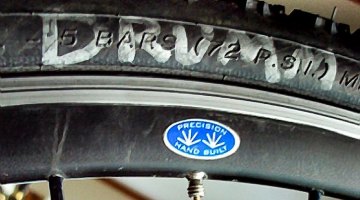
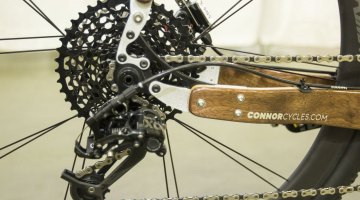
Lube the chain with your normal chain lube and give a quick spray of WD-40 to moving bits of your Derailleurs. Lube your cables using the technique I mentioned in the previous Mechanical Mondays post. Inflate your tires to around 40psi. Your bike is now ready for storage.
Store your bike in a dry area. If you have tubular tires, it’s a very good idea to store them in an area that is moisture-free and without drastic temperature changes. It’s also important to keep tubulars out of direct sunlight – UV rays can damage the tires by drying out the tread and casings. Prolonged exposure to moisture can cause your sidewall casings to rot. So keep them inflated and in a dry, somewhat dark and temperate place, like a basement or closet. If you remove your tubular ‘cross tires, make sure that you store them with air in them and that they remain round – do not fold them. Garden hose hangers work well for this.
If you clean and lube your bike and store it in a dry area, it will be ready to go when you are. For me, cyclocross season is officially over and the prep for a busy road season begins.
Dave Drumm
Equipment Manager, Head Mechanic
Webcor Builders Pro Cycling Team
http://jetsetbikemechanic.wordpress.com/