


by Brandon Grant
By Mid-December, chances are your season is over — or will be soon — with the majority of state championships done and dusted and the Reno Nationals less than a month away. Before you step away from ’cross to let yourself recover, catch up with family and friends and lose some of your fitness to holiday cheer, spare some time for your bike. It may be tempting to hang it up promptly after the last race of the year, but little issues now may be ride-ending when you grab your bike for a gravel race in the spring.
Here are ten things you can do now to make sure your bike will be ready for you down the line.
Caring for your bike now will pay dividends down the road. Elite Men, 2017 Zeven UCI Cyclocross World Cup. © J.Curtes / Cyclocross Magazine
1. Wash Your Bike
This may be obvious, but take some time and wash your bike. Wash it deeply. While you do, pay attention to the state of the bike itself. Look at your saddle and make sure it’s not cracking. Examine your chain rings; make sure you didn’t bend a tooth on a log or barrier and ensure the teeth are not excessively worn.
Look for cracks in the frame. It’s easy to miss signs of wear during the season, when bikes may not be looked at more than superficially from week to week. Now that the pressure is off, take your time and replace things now, not the night before your next event.
Clean your bike really well one last time. 2017 World Cup Zeven Course Inspection. © J. Curtes / Cyclocross Magazine
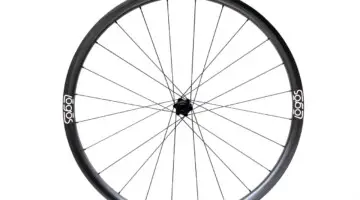
2. Check Your Wheels
Your wheels live a hard life. These long-suffering hoops bear the majority of the abuse from mud, rocks, sticks and generally poor terrain. With discs, wheel damage may not be as immediately manifest as it is with rubbing rim brakes, so now is a good time to give you wheels a thorough check.
I like to use a bright light and shine it on the rim. If you have aluminum wheels, check for dents in the bead seat by shining light on the rim surface and looking for changes in the light’s reflection. If you find anything worrisome, replace the rim. If you have carbon rims, look carefully for cracks.
Now is also a good time to true your wheels and check spoke tension. There’s a good chance your wheels could use touching up. Check the wear on your cassette and ensure the bearings are spinning freely. Replace anything that has worn out.
Wheel truing and checking spoke tension is a skill that takes some practice, so if you are not confident in your abilities, your local mechanic will be able to help you make sure your wheels will be ready come spring.

Logs and other features can do a number on your wheels over the course of a season. Make sure to look them over before hanging them up. Elite Women, 2017 Cincinnati Cyclocross, Day 2, Harbin Park. © Cyclocross Magazine
3. Brake Check
No, I am not suggesting you grab a handful of brake next time you take a pull in a paceline. Disc and rim brake users alike should take a good look at their brake system. Replace worn pads and re-align the brakes if needed. Ensure hardware has not corroded in place.
Now would be the time to address any issues with a hydraulic system as well, such as replacing a kinked hose or bleeding the system. Take a look at the brake rotors and replace them if they have become worn or badly out of true. At the very least you should true your rotors if needed.

Wolfgang Turainsky tapping out the bubbles and bleeding the system in just a few minutes. The Uno hydraulic shifting component group from Rotor. © Cyclocross Magazine
4. Examine Your Headset
It has been my experience that headsets take more abuse than they deserve. The front wheel sprays water and grit directly into the lower bearing, and sweat has a way of getting past the seals on the upper bearing if a bike is used on a trainer. Bikes often come from the factory with little grease in the headset, which means yours could benefit from some TLC.
Loosen your stem and drop the fork out of the bike. Make sure to do this on a surface you can wipe off because greasy/rusty/dirty bearings will most likely fall on the ground.
Before you go any further, make sure there are no cracks in your steerer tube! Ensure the cartridge spins freely without grit, and does not notch in place. If it does, replace the assembly. It’s cheap and will improve your bike’s handling. Wipe out the headtube and steerer, then re-assemble the headset, liberally greasing the cartridges.
I prefer to use marine grease here. It’s a little tackier and more viscous than a high-performance grease I would use on drivetrain or wheel bearings, but a headset just needs to continue turning freely and repel water, so it works well in this case. Wipe off the excess after you have re-installed the headset.
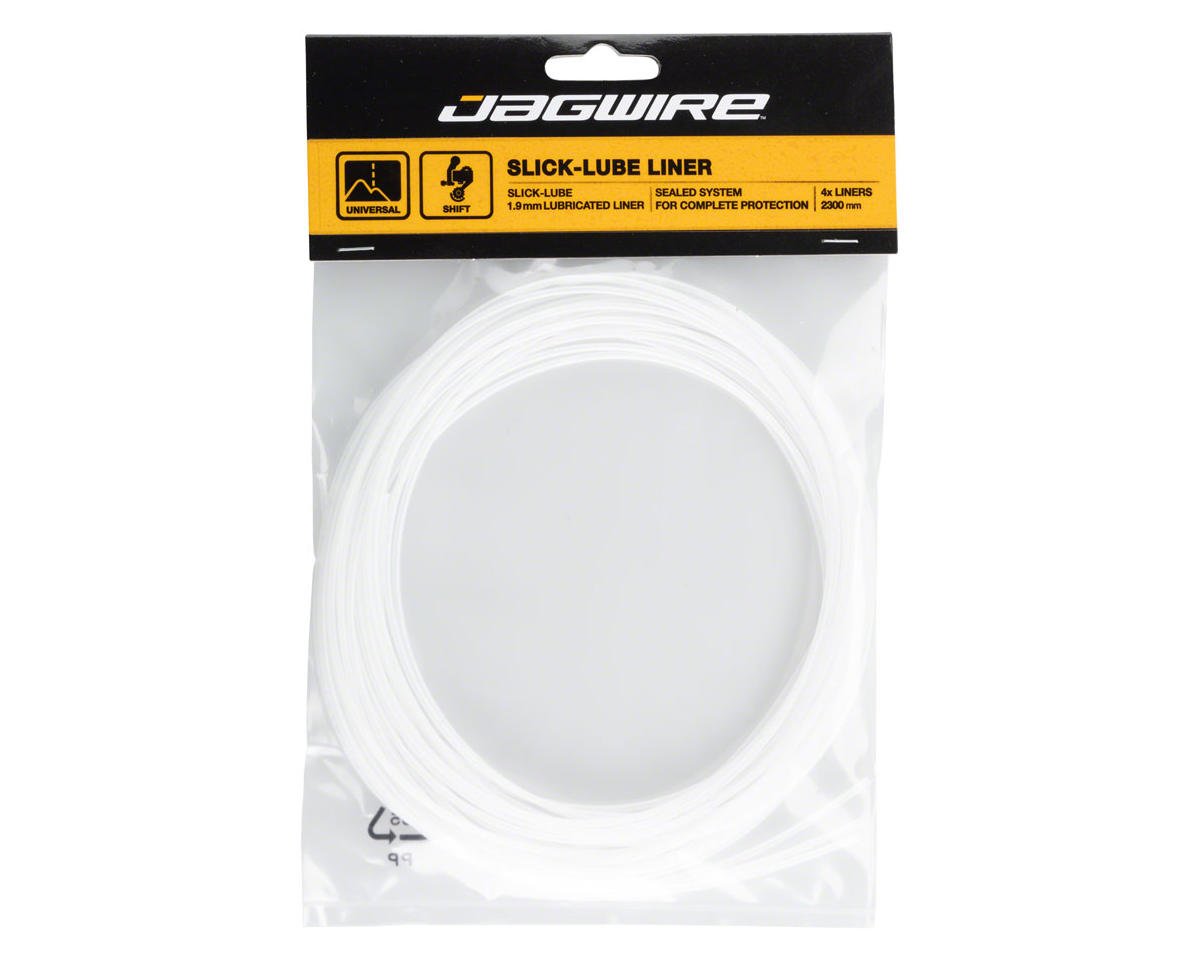
5. Check Your Cables
Cable systems are also easy to forget. With modern bikes running them through the frame, there is not much instance for you to casually notice wear. Unclamp your shift cable and pull the cable head out of the shifter. If it’s fraying, or even kinked, replace it with a quality stainless steel or polymer infused cable.
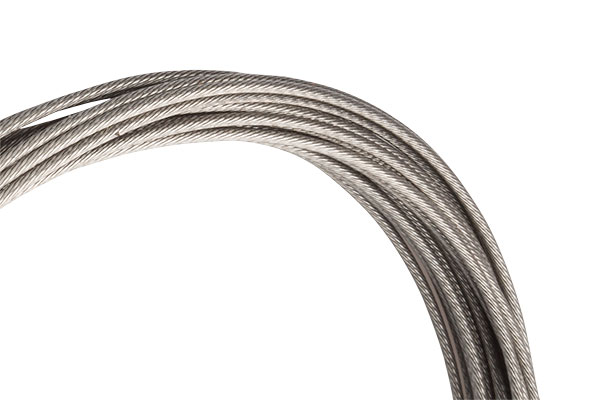
Our experts recommend using stainless steel cables. Shown here is the Jagwire polished stainless steel cable. It’s an inexpensive way to get things working like new.
While the cable is off, look at your housing. If it is cracking, or kinked, replace it. If you’ve removed your shift cables you may as well re-wrap your handlebar as well — it probably needs it after a season of racing — and old tape rarely re-wraps well.
Pull the ferrules off of each housing segment and check for rust. If you feel like being extra thorough, ensure that the end of the cable is square before re-installing ferrules. Check any metallic ferrules for corrosion and replace any that have signs of wear. Grease the cable stops or ports before you insert housing to prevent them from seizing. If you have mechanical brakes, do the same with the brake housing and cables.
We recently asked some pro mechanics about cable maintenance and got opinions on maintaining shifting systems from some of the best in the business.
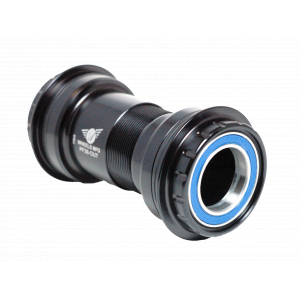
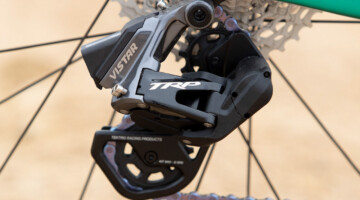
6. Address Your Drivetrain
Your drivetrain has spent months in dirty, gritty, wet conditions. Check your chain and replace it if it is anything but new. Even if it is new give it a proper cleaning and re-lubrication. While you have the chain off, spin the jockey wheels on your rear derailleur. If they do not spin freely, remove them and either replace or service them. Check your derailleur hanger and derailleur cage to ensure they have not become bent. If you do replace it, order a spare.
Spin your crank with the chain off. If the bottom bracket makes noise or the crank spins slowly or feels gritty, chances are you should replace the bottom bracket as well. Using a torque wrench, ensure all your chainring bolts are tightened properly.

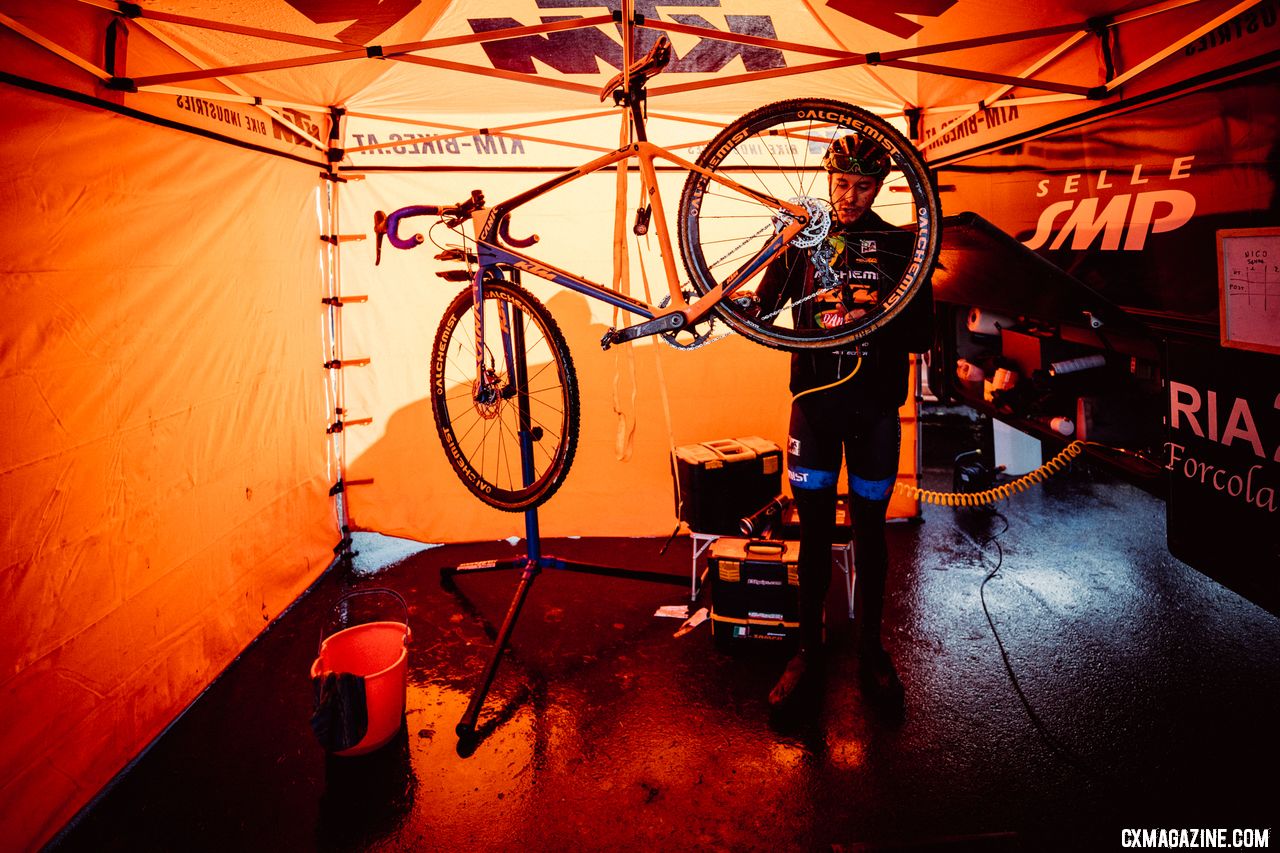
If your derailleur looks like this after your last race, it is a good idea to get it clean before storing your bike. 2016 Cyclocross National Championships. © R. Riott/Cyclocross Magazine
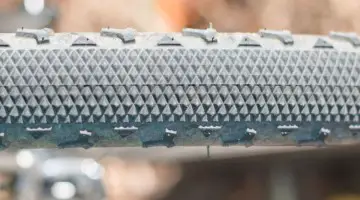
7. Service Your Pedals
Pedals live a life almost as hard as wheels, and pedal failures can be dangerous. Ensure the pedals spin freely on their spindles and service they if they do not. Remove the pedals, clean the threads on the crank and spindle and re-install them with fresh grease. This is another great place to use marine grease since pedal threads will not be moving, but it would be ideal to be able to remove them in the future. Make sure the springs are working properly and the pedal engages securely with your cleats. If there is slop or play in the cleats, replace them.
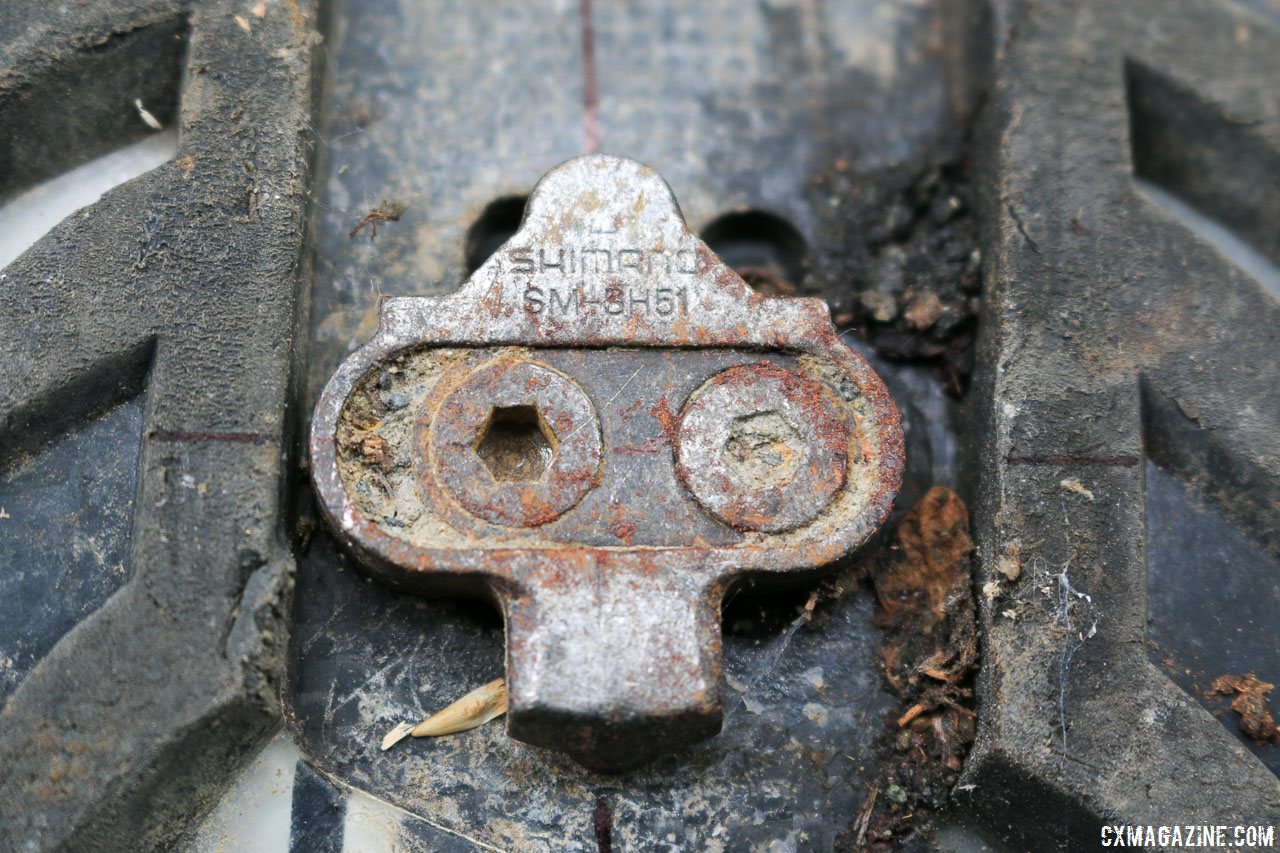
Check your cleats and replace them if necessary. You will appreciate it come spring. Tips to remove stuck cleat bolts of SPD or other mountain bike pedals. © Cyclocross Magazine
While you’re at it, before gravel or mountain bike season starts, it’s a great time to replace your cleats. Have trouble getting them off your shoes? See our 8 Tips for Removing Stuck Cleats. Also, if you struggled when conditions turned nasty, now is a good time to buy toe spikes when their necessity is fresh in your mind.
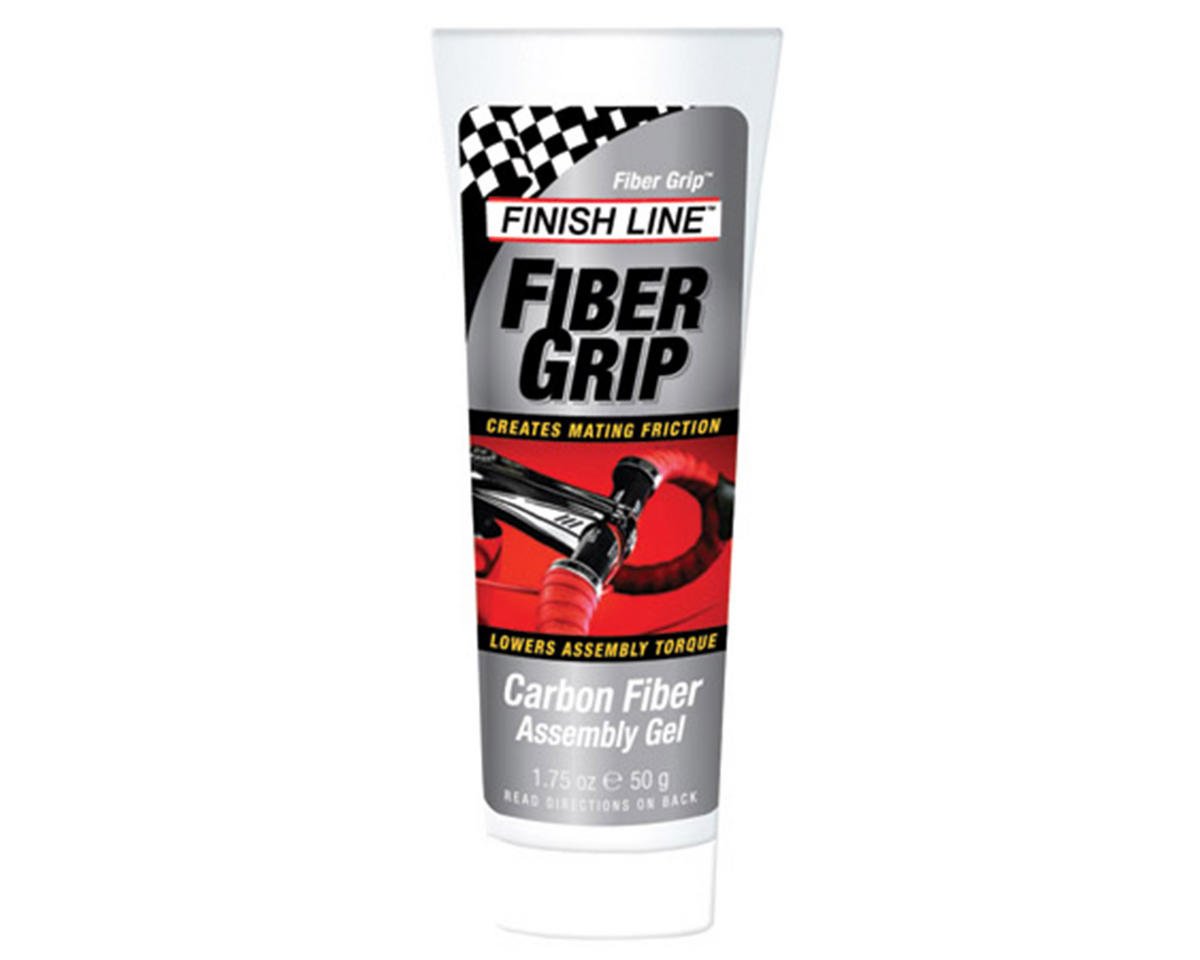
8. Remove Your Seatpost
Seatposts are usually more or less forgotten after installing them. Unless you travel using a bike case or change your fit, chances are you have not touched your seatpost in a while. Mark your saddle height and pull your seatpost out of the frame. Flip it over and let any water drain out. Re-install your seatpost using the proper lubricant; grease for metal and fiber grip for composites. Align and tighten it using a torque wrench.
9. Ride Your Bike
Technically this is not a maintenance procedure, but after a major overhaul, it is usually best to go ride the bike. Any underlying issues that still need to be resolved will usually manifest themselves in a test ride, so it would be a good idea to take a multi-tool with you. Resolve anything you notice and ride it again.
Trust me, it’s better to do it now rather than put a recently-adjusted or tuned-up bike away for a few months and then be surprised by issues on your first ride in the spring. If the bike passes the ride test, you can rest assured that when you reach for it for that gravel ride in the spring, when you’ve forgotten what you’ve worked on, it will be ready for you.

After making adjustments, take your bike out for a spin one more time to make sure everything is dialed in. 2016 UCI Cyclocross World Cup Junior Men. © B. Hazen / Cyclocross Magazine
10. Say “Thanks” to Your Local Mechanics
Many cyclocrossers enjoy the DIY part of bike maintenance. However, even the craftiest among us (unless perhaps you are a favorite to dethrone Tom Hopper at Mechanics Nationals) need to rely on the skill of our local mechanics at least once during the year.
It never hurts to say “thanks” with a little token of your appreciation. Beer, sweets and coffee are all good options this time of year. If you want to go the extra mile, drop them a cash tip.
Cycling has a small community and so little gestures are likely to be repaid. Who knows when you’re going to need something fixed the day before a big race.
Now that your bike is in working order, you can feel free to hang it up for the season, take a break, re-acquaint yourself with others and maybe think about some upgrades for next year.