Last week, we revived a Mechanical Monday on storing tubular tires and keeping them clean. Keeping tires and rims clean is one thing, but getting them that way is another project altogether, and we quickly received the following suggestion on Twitter:
@cyclocross how about one on roving tubular glue from the rims and or tires.
— Bo Kisch (@bogertKisch) April 20, 2015
With the off-season halfway through for many of us who race September through December, now might be a good time to get a head start start on prepping your wheels so that you’re not scrambling in the week before cyclocross. So we talked to some of the top brains in the industry, including Calvin Jones of Park Tool and Molly Cameron of Portland Bicycle Studio, alongside wheel companies and asked them about some of the best practices on glue removal, including walking us through their methods, what chemicals are recommended with carbon rims to aid in the glue removal, and how much glue is acceptable to be left on the rims.
Here is what the experts had to say:
Tubular Glue School Number One: Grunt and Bear It
Calvin Jones details the two schools of tubular glue removal: “School number one believes in lots of elbow grease, using scrapers of various shapes. Sometimes heating the glue with a heat gun. Lots of and lots of time spent, supplemented by some cursing.”
In a previous article, Kenton Berg is a firm teacher of this school number one, carefully using a hairdryer and a cheese knife in order to clean his rims, although Berg was kind enough to forego the cursing in his how-to video.
While Zipp Wheels is preparing to release their tubeless aluminum rims, the Course 30, they have some advice for handling their tubular carbon fiber rims. They recommend that just as you should never use tools to install tubular tires on or remove them from your carbon rim, that you shouldn’t use those same tools, or any metal scrapers to remove glue from the rim. The solution? Use wooden scrapers instead. If you’re not bold enough to use your household’s wooden utensil set, various options like wooden chopsticks and popsicle sticks work well.
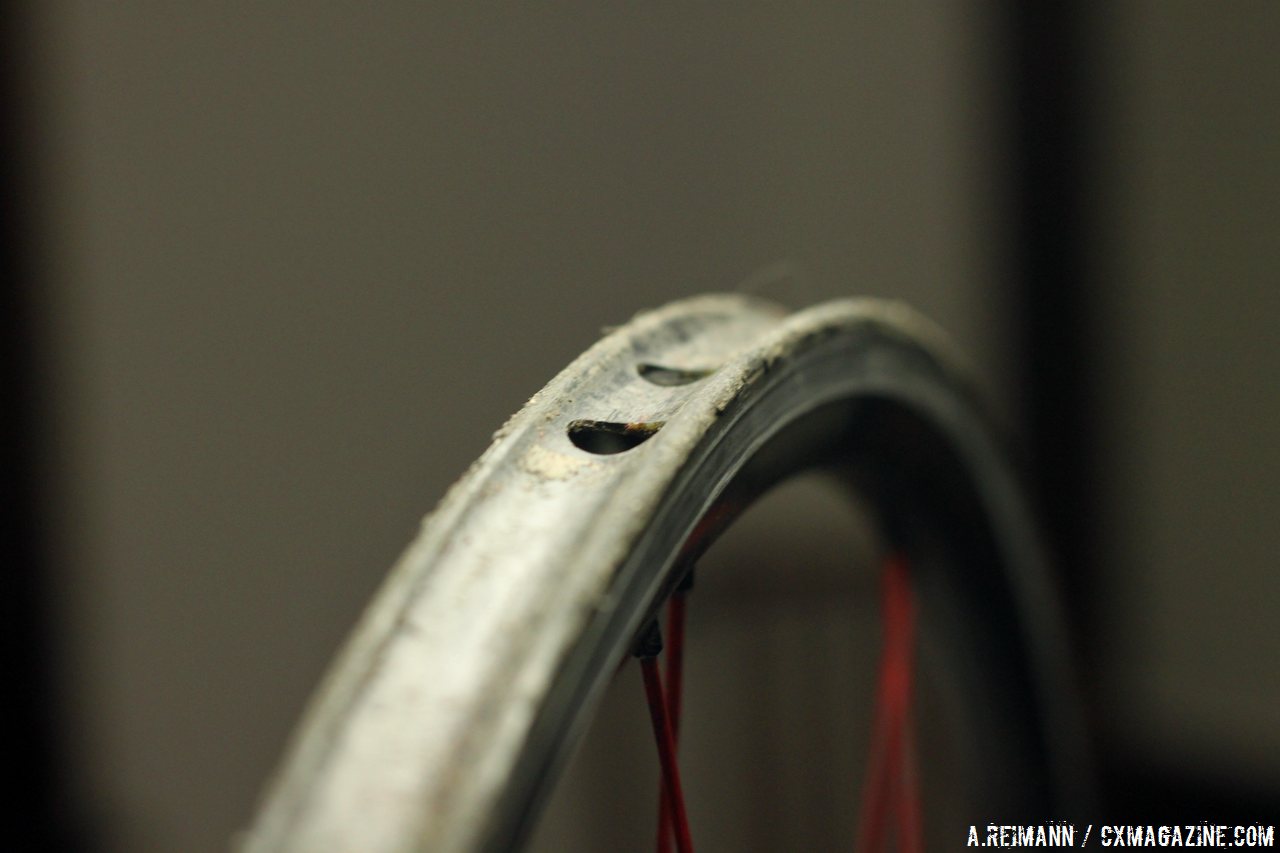
The off-season is a great time to clean off those rims and prepare for the fall. © Cyclocross Magazine
Reynolds Tech of Reynolds Cycling has similar recommendations, warning against metal tools and especially metal brushes, which can wreck havoc on carbon fiber rims.
Using a heat gun to get glue bubbling and loosening up can be a great solution for rims. Molly Cameron told us that, with the exception on cases where a customer needed a new-looking wheel, they try to avoid using solvents on rims. “And never use solvents on tires,” she recommends. “A heat gun to get the glue or CX Tape soft and pliable is the quickest and mess/hassle-free way to get the glue off of your rims.”
Tubular Glue School Number Two: Chemical Romance
Jones’ second school “believes in chemical assisted removal.” He reminded us that glue, of course, is a chemical in-and-of itself, “or at least of bunch of substrate suspended in nasty solvents like hexane,” and this means that chemicals will take it off the best. Of all the chemicals you can use, paint strippers produce the best results.
This is good news for those of you with aluminum rims, who can happily use the toxic paint strippers (although citrus-based paint strippers are also available) to produce an immaculate rim, which is just one of the many reasons to consider an affordable wheel such as our recent 2015 Editors’ Award winning Neugent A220DTW. The biggest drawbacks to paint strippers, Jones suggests, is that it will not only stink up a poorly ventilated area with dangerous fumes, but they are not good for the skin.
One more warning about paint strippers: “They make no distinction between glue and a rim logo sticker,” Jones states. “It is as happy to melt one as the other.”
Yet another problem is that not all paint removers work well with carbon fiber, however, and it is a good practice to check with each manufacturer to find out their recommendations.
Zipp states that while acetone (commonly used to remove nail polish) or denatured alcohol are safe, but echoing Calvin Jones, they state that both will ruin the decals. Zipp also recommends Goof Off alongside latex paint removers. They strongly warn that any other solvents will void the warranty on your wheels. Zipp also recommends to drip these solvents on a shop rag rather than directly on rim, especially where they could enter the spoke holes.
For removal of the Belgian method of gluing rims, which includes a combination of glue and rim tape, Zipp advises the same process of removal, using solvents such as alcohol and Acetone. The company added that using tapes such as Tufo and others should be used at anyone’s own risk, however, in no circumstance should anyone use 3M Fast Tack, which can cause rim and tire damage due to the over aggressive bond it creates.
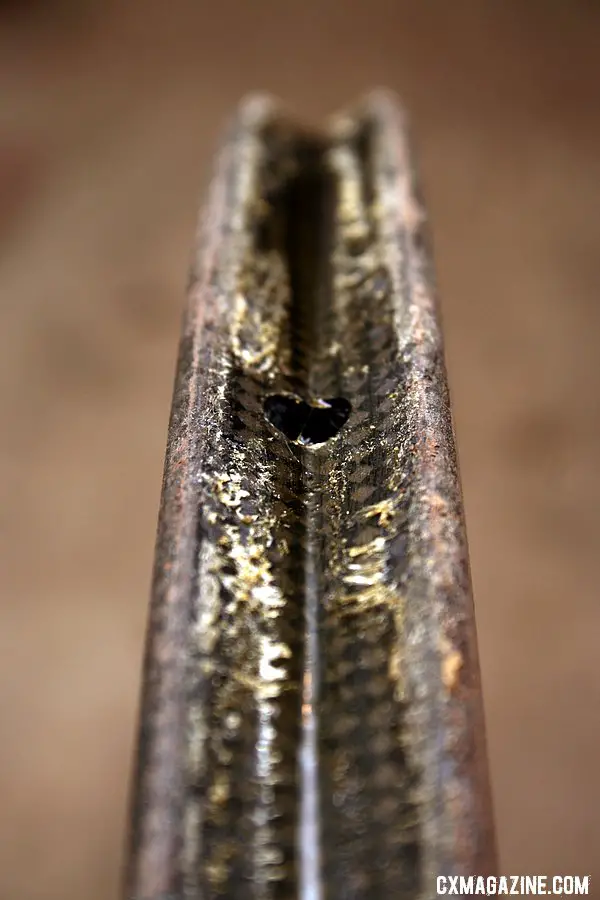
Zipp has a few guidelines for glue removal, with its cabron wheels like this 303. © Cyclocross Magazine
Reynolds also recommends acetone, and also notes that using no heavier than 120 grit sandpaper can also help, although another cleaning with Acetone should follow any light sanding.
According to ENVE’s webste: “To remove tubular glue or adhesive from the rim you may use alcohol or acetone.”
According to Easton’s website: “Naphtha and acetone will both work, be careful with the acetone as it could affect the graphics.”
Jones highly recommends working in a ventilated area, and wearing gloves when using paint remover. The big key is to let the chemicals sit. “You then do other useful work during this time,” he advises for the next steps. “You do not drink a beer in trying to live up to some base stereotype. Rather, make yourself useful.”
After wiping the chemicals off with a shop rag, follow up with a wash, and the wheel is ready to be worked on once again.
“You do not drink a beer in trying to live up to some base stereotype. Rather, make yourself useful.”
Molly Cameron told us that for customers who need to have their wheels looking new and completely free of glue, she has “a chemical engineer in-house that will easily and completely remove glues/adhesives from carbon and aluminum wheels… He dips them in a solvent and they come out completely clean with all of the adhesive residue dissolved away. They look brand new once he is done with them. It is unreal. But also unnecessary for the vast majority of wheels.”
Tubular Glue School Number Three: Let it Be
How accepting can you be of old glue on your wheel? “If there has been a good base of glue applied to the wheel already, and the layers are clean and even, [you can keep the old glue on],” Jones advises. “You do not need to clean to the bone every time you glue.”
Cameron, however, goes even further with a third school of approach: “The best method is to not to remove any glue. Adhesion is good! You want adhesion. So if glue is sticking to the base tape and the rim, leave it there! If the glue is sticking, leave it. If they tires and wheels were glued properly, you will not have big chunks of glue nor big goopy sections of glue that need removing.”
Cleaning a rim so it looks like new might be overkill. © Cyclocross Magazine
As for the Belgian method, Cameron doesn’t use the 3M Fast Tack that Zipp warns against, but CX Tape. “For the most complete adhesive bond between the tire and rim: we leave old glue ON the rim but, absolutely remove excess CX Tape that is sticking to either the tire and rim. Then use new CX Tape and thin layers of glue when re-mounting. We won’t ever use solvents to remove CX Tape or glue, the back of a butter knife and a tire lever are enough to get under the CX Tape and gently peel it off both the rim and tire with out damaging either.”
However, she does mention, that if tires were poorly glued in the first place, large chunks and bubbles will need to be removed in order to get a good coat of adhesive, which means you need less gluing layers the next time you’re ready to put on a set of tires.
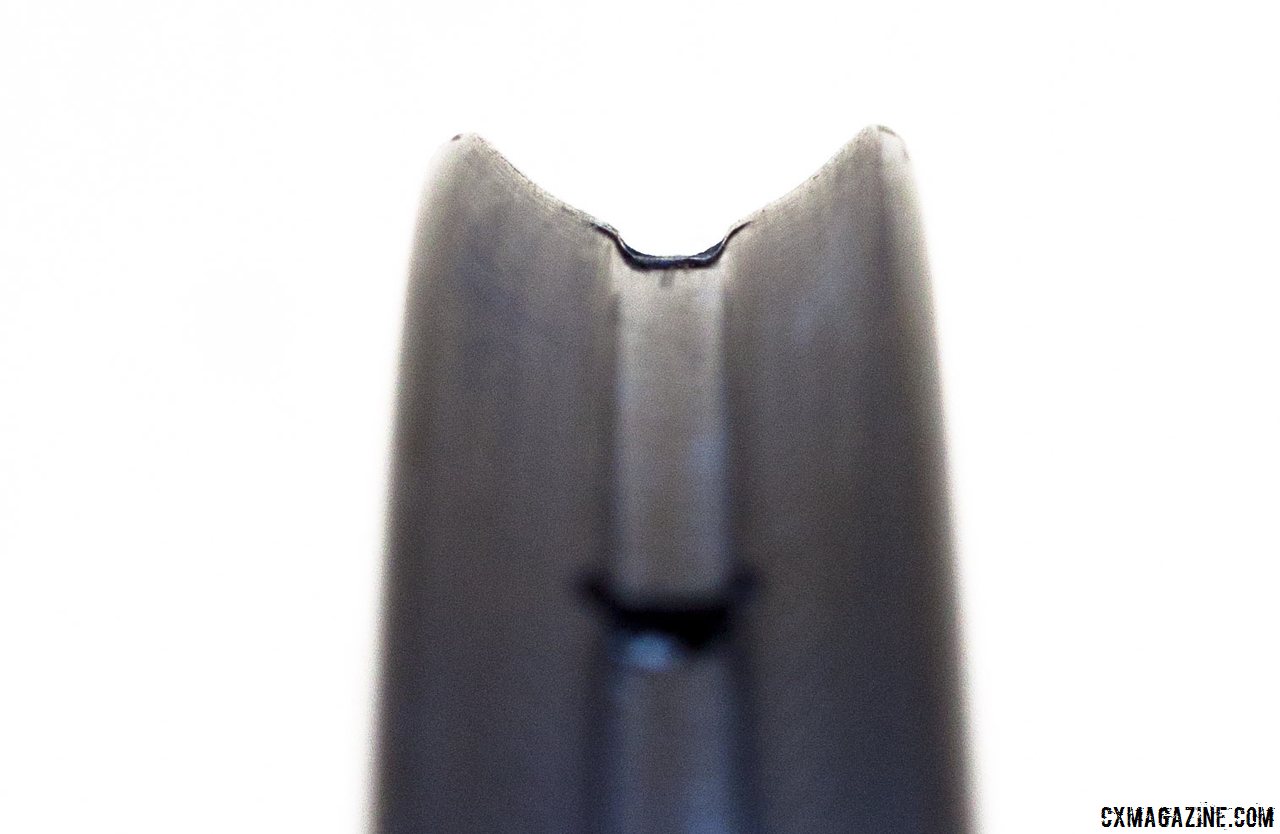
Editor’s Final Note: Which of the three schools is good for you? Part may have to do with rim material selection, but also some may have to do with how contaminated the glue has become. If you allowed your wheels to sit around dirty or a poor gluing job allowed dirt to seep into the wheel channel, chances are that you may have some glue removal work ahead of you. In all cases, be careful to inspect the edges of the rim for dirt. If they are contaminated, it might be worth a quick clean to keep you in great condition for the season ahead.