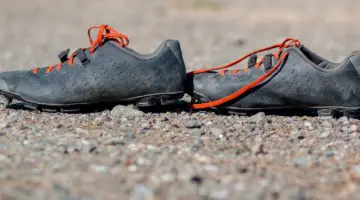

Will your cleats survive the season? © Kenton Berg
by Kenton Berg
OK people, it’s August, races are coming up quick, and ’cross prep is happening around the country. Now that you’ve dialed in the bike parts, shaved some weight off of your frame (bike or otherwise), gotten the tubies set to roll, what’s left? Well, its time to work on the shoes, two of the key contact points with your bike, and remove the opportunity for dirt, sticks, mud, rocks or other debris to get caught up between the shoe sole and your cleat. Face it, you just can’t go as fast or crush your competitors without being clipped in fully.
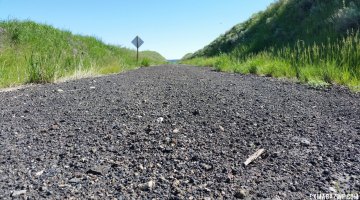
Here in the Northwest, we get all kinds of alien objects at our courses, not just mud, as the myths would have you believe. Even the driest days offer opportunities for small rocks, sticks, sand or grass to cling onto that small, tightly spaced area between the shoe sole and the cleat. To limit those “I can’t clip in” moments of frustration, a ten minute modification is all that is required.
The dremmel tool is what I would recommend to use for this job. I have managed to do this same type of job with a box cutter-type knife but it’s just harder, and more dangerous.
All you want to do in this modification is create space between the cleat and the shoe sole that, on 99% of the shoes out there, is a vertical wall. In doing so you’ll allow the bulk of the debris to fall out of that space and give you nearly flawless clip-ins. My experimentation shows that achieving somewhere near a 45 degree angle is ideal to keep the foreign objects and debris from clinging on. So, power up the dremmel, use one of the small conical-shaped pieces, and slowly begin “dremmeling” away the vertical wall until an angle and space is created. The optimal time to do this is before mounting your cleats, but I’ve done mine with the cleat in without a problem.
Are you a visual learner? Watch Kenton demonstrate the trick in his video below.