There are many articles on gluing tubulars onto a fresh, clean rim. However, there are significantly fewer that address what is a much more common issue for amateurs: removing an old or flatted tubular and the preparation involved getting that rim to a gluable state.
Thanks to some extremely generous and knowledgeable people in the industry, I’ve been able to put together a set of what I consider to be best practices. Brandon Davis of Aspire Racing, Stu Thorne of Cannondale p/b Cyclocrossworld.com, Mark Legg of KFC Racing p/b Trek/Knight Composites and Michael Robson of Butter all provided insight on removing old glue.
As with all things tubular, the advice varies a little bit. But there’s some clear commonality in all the approaches. Thank you so much to everyone who contributed their time and knowledge to this article.
Brandon Davis’ Five-Step Process for Removing Old Tubulars
Brandon Davis of Wattage Cottage Coaching is Ellen Noble‘s mechanic at Aspire Racing. He had a very interesting take on removing the old tire that I think is worth quoting in full rather than summarizing or pulling quotes from:
I remember my first time stripping a ’cross tubular that had been taped and glued; in my eyes welded to the rim. The cut tire and pull method left me with a lot of prep work to get the rim cleaned and ready. It wasn’t until I watched a long-time road mechanic that I learned a time-saving method that left you with a wheel that was ready for glue in a fraction of the time. So here are my top five steps.
Step 1: Warm the wheel up
If it’s summer put the wheel in your car for 30 to 40 minutes and let the glue/tape interface get warm and malleable. If you live in a hot climate, then a garage or shed will suffice. If it’s winter, then use the warmest environment you can find but avoid carpeted areas. You will regret it if you don’t.
Step 2: Deflate the tire, but not all the way
Deflate the tire to about 10-15 psi. This varies with the suppleness of the tire, with more supple tires needing a little more pressure to maintain structure and shape. You then just work the tire with your hands firmly once around on each side.
Step 3: “Skin” the tubular off
Grab a small flat head screwdriver or fashion a shiv and then YouTube “How to skin a deer,” because essentially you are going to “skin” the tubular off.
Start at the valve hole (because why not, it’s an easy reference point). With the wheel between your legs, you want to grip and pull while slicing at the glue/wheel interface. You will make two to three full passes on each side. Each pass should get easier as you work the tire. I like to flip sides every pass so I’m working toward the middle of the rim bed from each side.
Step 4: Pull the tire off
Once you get your passes, you should almost be able to take the tire off with a firm grip hands and some prying. If it’s stubborn, then work a section completely off and continue to “skin” the wheel while pulling the tubular completely off as you go. This will leave you with a wheel that has little residual glue and a nice uniform surface, which is the ultimate goal prior to gluing.
Step 5: Clean edges of rim bed
Place the wheel in a truing stand or put it on the bike and put the bike on a bike stand. Spin the wheel and use a razor blade to clean the edges of the rim bed and scuff with a stiff brush or coarse sandpaper.
BONUS STEP: Enjoy and be patient!
Enjoy your favorite beverage and have patience! Nothing good is easy and nothing easy is good.
So there’s your method for removing the old tubular.
Michael Robson’s Method for Removing Glue, Prepping Tubular Rims
Now what? Michael Robson, proprietor of Butter, does a few things differently than other mechanics I talked to. I will talk about those differences in the next section.
Here is his advice.
So here’s the gig, preparation, as with so many things in life, is the key. If you prep your rims properly, your glue job will be dramatically more effective and things will go more smoothly.
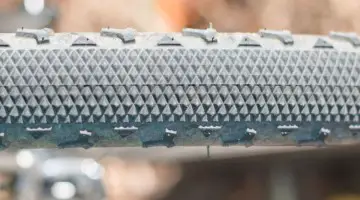
The goal of these methods is to get from this to a glueable surface. photo: YouTube screen capture
First, some background info. Hexane is the solvent base for the tubular cement Mastik One, but it’s hard to get and pretty nasty stuff. Kleanstrip VM&P Naptha is a pretty close approximation. When cleaning tubular rims for re-gluing, you need to loosen and dissolve the old cement and then manually remove it. Acetone works for this but it evaporates really quickly and doesn’t work as well as Naptha.
New Rims
Cleaning new rims is not enough, the rim surface is smooth and often has residue from manufacturing or handling. The best way to get cement to stick to something is to give it some surface texture to hang on to. A 400 grit sandpaper or emery cloth is just right to create an abraded surface.
Step 1: Clean the rim
Wet a rag with Acetone or Naptha and clean the rim thoroughly. Give it a minute to evaporate/dry.
Step 2: Sand the rim
Wrap sandpaper around your index or middle finger — kind of the shape of the rim bed — and sand the rim gently with back and forth motion in a wheel stand or old fork. Sand thoroughly all the way around at least twice. Be sure to sand in the seam groove and also right up to the outside edge of the gluing surface where the glue job does the most work.
Step 3: Clean the rim
Clean again with an Acetone / Naptha rag. Make sure the rim is clean and dry and free of rag fibers and other debris before applying the first coat of cement. Do not touch the clean rim surface with greasy fingers.
Last step: wipe the rim clean one more time. photo: YouTube screen capture
Used Rims
This is what I do for used rims. I am pretty sure at least 1(b) voids the warranty, so just be warned about this approach.
The object of the game here is not necessarily to remove all the cement, but you can if you want. Old cement can be smoothed out and re-activated and it’s fine to be left on as long as there are no big chunks and the surface is even.
Step 1: Clean and re-activate
If most of the cement comes off with the tire, I usually clean and re-activate what’s left with Naptha. The old glue will get sticky again and some of it will come off or dissolve and overall, the rim surface will get smooth for re-gluing.
Step 1(a): Work off old cement
If there is a lot of glue left on the rim, which indicates the use of too much glue and insufficient drying time when mounted the first time, I re-activate the cement and then use a shaped plastic scraper (I get a plastic spatula or drywall knife and trim it to shape) to work off the old cement. You don’t have to get everything, just get all the big lumpy stuff off the rim surface and then wipe the rim down again with Acetone/Naptha to smooth out what’s left.
Step 1(b): Buff out built-up cement
Wipe the rim with Naptha to soften up old cement. Use a three-ish inch wire wheel attachment in a hand drill to buff off the built-up cement. The wire wheel will pack up with cement pretty quickly; this is good. It helps to create a bit of friction that heats the cement gently and helps it to come loose, then the cement sticks to the wire wheel and lifts off the rim. Wear safety glasses and an apron. Wire fragments periodically fly off the wheel and can get embedded in eyes and skin. I have some hilarious stories about this.
This method sounds aggressive but it’s not hard on the rim and should leave a thin, smooth veneer of old cement that can be dissolved with Naptha or just left on and re-activated.
There is a contraption out there that looks like a bike fork that has a plastic scraper for the rim bed. I don’t think it’s commercially available but I have been working on a simple hand-held device for scraping off old glue.
Another Approach for Removing Tubular Glue
Robson uses Naptha, which is something both Stu Thorne (Cannondale p/b Cyclocrossworld.com) and Mark Legg (mechanic and partner of Katie F’n Compton) do not recommend. Naptha is a volatile chemical that needs to be used in a well-ventilated space. It also leaves a residue that has to be cleaned off later with acetone. In my personal experience, it makes a pretty big mess and is not something I would use again.
What do Thorne and Legg recommend to remove glue? A heat gun. Thorne uses a hair dryer even.
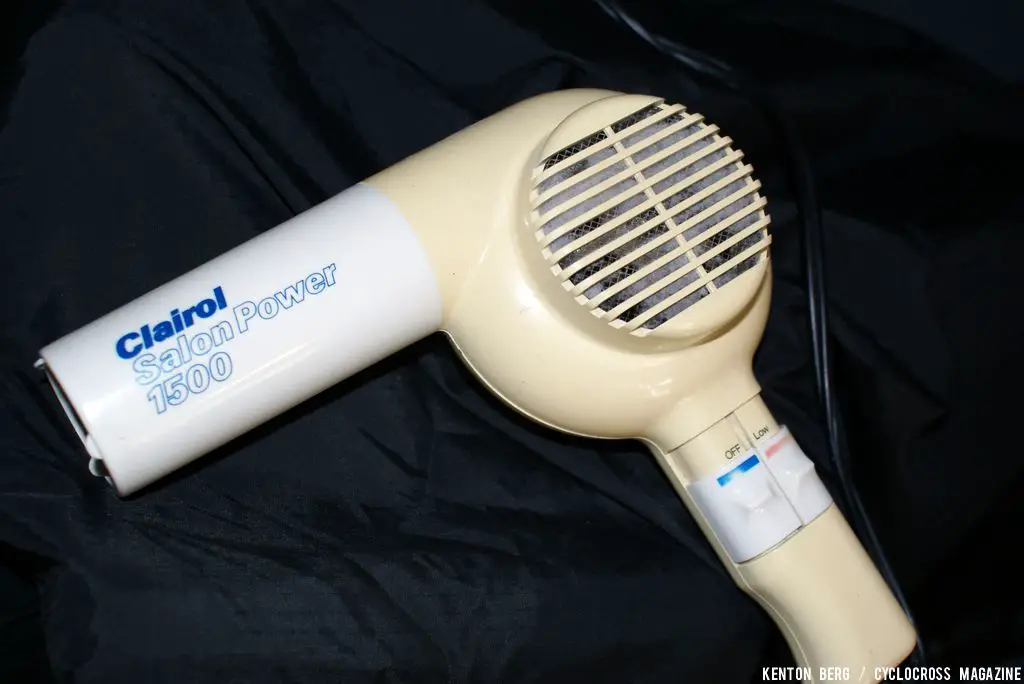
The hairdrier: unlikely tool of cyclists everywhere. photo: K. Berg / Cyclocross Magazine
Robson was worried that the home mechanic might damage their rim with heat, which is reasonable. My approach for using a heat gun has been to heat a section between two spoke holes (thanks to John Verheul for that tip) just enough that the glue gives the appearance of being at a simmer. Very small bubbles start to form.
I then use a rag and wipe the glue off. You can also use an implement like a tire lever. If you get the glue too hot, it runs like liquid and ends up on your sidewalls. That adds to your workload. Make sure to turn the cleaned section of rim away from you so that you don’t burn yourself (thanks to Eric Lundgren for that tip). I seem to lightly burn myself about once every other wheel.
Once you’ve gotten that glue off, you want to clean the surface to make sure no residue remains. Thorne recommends acetone. Legg recommends rubbing alcohol. Either is fine. Acetone is something you want to use in a well-ventilated area with gloves.
The last step in rim prep is to rough the rim up a bit, assuming you’re cleaning all the glue off and going with a bare rim. The specific grit varies based on who you talk to. I’ve heard anywhere from 60 to 400 grit, which is a broad range. You should definitely check to see if it will void your warranty. The main point is to create some surface variation to the rim, not to grind it down. Hit it lightly and quickly.

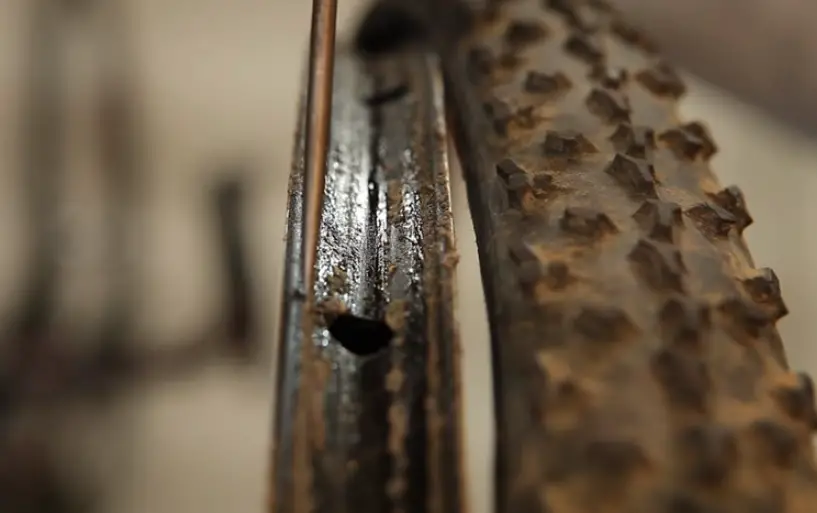
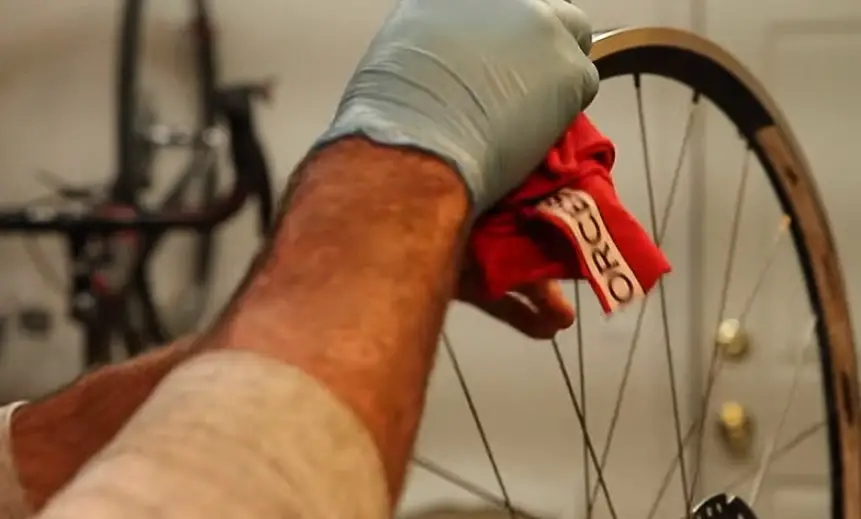
The author in his natural habitat when removing tubular glue. photo: courtesy
In summary, the major points are:
- Get the old glue off. Some mechanics leave a bed of glue on. I think unless you really know what you’re doing the safest thing is to clean it down to the rim bed and start fresh.
- Remove the glue with some heat and elbow grease.
- Clean the rim with acetone or rubbing alcohol to remove any residue.
- Lightly scuff the rim to prepare the gluing surface.
Now you’re ready to go. I can do a rim in about 45 minutes with minimal social media checks. There’s no particularly fast or easy way to do this. Welcome to tubulars.
Thank you again to Stu Thorne, Michael Robson, Brandon Davis and Mark Legg for their contributions. They were very generous with their time and information in this. You can hear Thorne’s interview here if you like. Foolishly, I didn’t record my conversation with Legg.
Thanks for reading. If you have further questions feel free to contact me. And good luck!