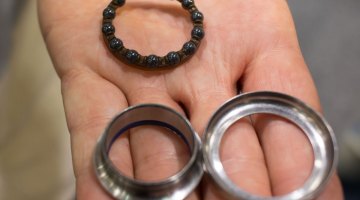


Did you bring out your shoes for gravel season only to find them a bit muddy? © Andrew Reimann / Cyclocross Magazine
Last Mechanical Monday, we resurfaced a guide to replacing and working on sealed bearings. In a similar vein, we look at the common misuse of cleats (so common, in fact, that we realized that we also were in dire need for a little cleaning and cleat replacement). While this guide doesn’t touch on cleat wear, it does look at solutions of what you can do if you’re having a hard time removing your old cleats from your shoe.
Perhaps it’s been four months since you even looked at your cyclocross shoes. You know after a full season of mud and dirt filled action, your cleats are in dire need of replacing, so before you begin your offseason with gravel racing or mountain biking, you dutifully go to your LBS to get new cleats, pull your shoes out of the closet, and discover that your cleats are firmly stuck in your shoe.
By the bad luck of running over rocks directly on the cleat or by poor tool management, you realize that not only is a bolt seized in the shoe, but the bolt head is distorted or rounded. Don’t fret: There are plenty of solutions preventing you from needing to go out and buy a whole new pair of shoes.
If you are in the thankful position of reading this before this incident has occurred, you may want to make a mental note of getting in the habit of cleaning and re-lubing your threads during the season. If you are installing your cleats dry, without a waterproof grease, you are asking for a headache down the road. Consider how much torque these bolts are forced to endure, and then couple that with how often a cyclocross rider runs or rides in wet conditions. The likelihood of the threads chemically bonding to your cleat mount becomes very good.
No need to overdo the grease (not chain lube) on your cleat bolts, but a little every month goes a very long way. © Andrew Reimann / Cyclocross Magazine
If, on the other hand, you are already in a pickle with your cleats, there are a few steps you can take in the following chronological order.
For starters, don’t remove the other bolt(s) and save the stripped bolt for last. Think about when you’re properly torquing a four bolt face plate on a stem: You feel like you properly tightened one bolt, only to find that after tightening the three other bolts, that last one feels much more loose than it did before. Removing the other bolts in your shoe is the same concept, only in reverse. When you remove the other bolt, that last stripped bolt then gets the bulk of the tension, meaning that removing it will require even more force than before.
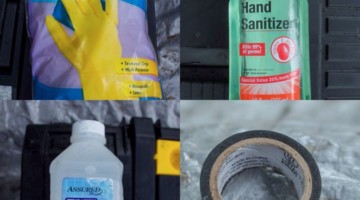
The more surface area you have in the bolt’s head, the far less likely it will be to strip. Therefore, the first action is to clean as much dirt as you can out of the bolts and off the cleat itself. A punch, a small Swiss Army blade, and a can of compressed air (remember your safety glasses) should be enough to remove the offending dirt. More often than not, even a partially stripped bolt yields more than enough surface after the cleats have been thoroughly cleaned.
Quality Allen keys that haven’t been misused and a penetrating oil like WD-40 are helpful. Remember to allow the oil to penetrate into the bolt, which usually takes even “fast-acting” labeled penetrating oils at least 15 minutes to work. The goal with these is to loosen and break the chemical bonds of the threads caused by all that mud and water over the season.

After cleaning the cleats and using a penetrating oil on the threads, it’s best not to get to work right away. © Andrew Reimann / Cyclocross Magazine
If the whole bolt head has started to round (but has not yet completely rounded) despite your carefullest efforts, an alternative to getting out your drill is to create a bond between your Allen key and the stripped head by using an epoxy adhesive, such as Araldite, and leave it to set for a few hours.
The biggest problem here is that Araldite is notoriously good at its job, and resists most solvents. Once the bolt and the Allen key are removed from the shoe, heat is one of the few things that will be able to break the bond you created. If you want to save your tool after you’ve removed the bolt, you’ll either want to avoid using Allen keys with plastic handles or carefully focus a heat gun at the bolt’s head.
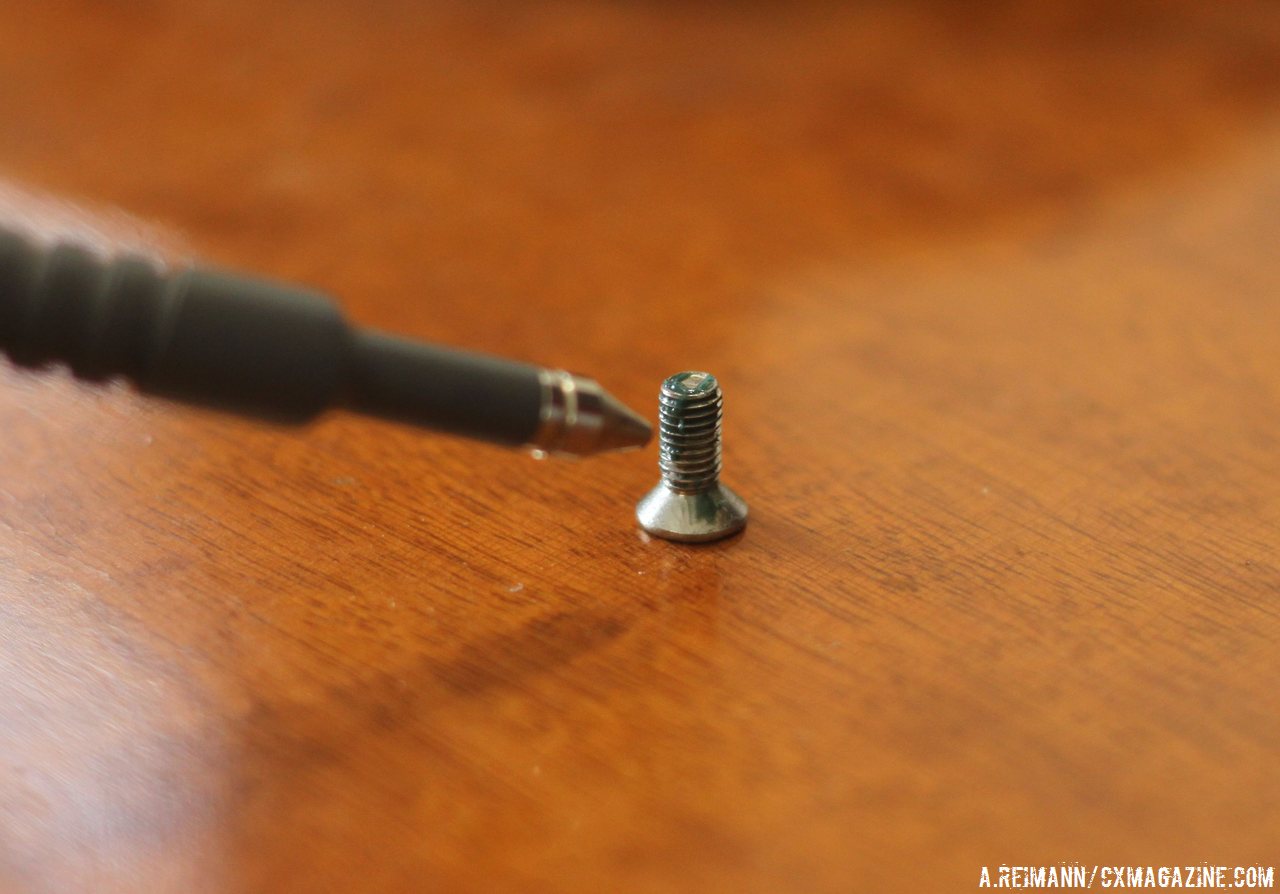
If the bolt has been completely rounded, you may want to invest in a damaged screw and bolt remover for your drill. These are typically less than $15 for a set and more than worth the investment. If you’re in a hurry and need new cleats for tomorrow’s race, the final solution is to get a drill bit the same size as the head and drill it off until you can remove the cleat.
Don’t drill further than you need to remove the head because you will need all the remaining bolt tfread sticking out of the mount that you can get. Apply another dose of penetrating oil to the thread, and remove it with a pair of vice grips.
Stay tuned to cxmagazine.com for more Mechanical Mondays to come!