Daimeon Shanks – pro mechanic and co-owner of The Service Course repair shop in Boulder, Colorado, is here to school you on keeping you shifting and braking performance friction-free. There are several option available, and Daimeon gives his impressions of some of the more worthy. Missed last week’s article on gluing tubulars? Go back and check it out.
by Daimeon Shanks
’Cross can be a bitch when it comes to cleaning and maintaining the cables and housing on your bike. Rain, mud, sand, snow and dust are all hell on your bike, robbing you of both shifting and braking performance. Here’s a couple of ways that you can seal your cables from the elements and keep your ’cross whip running like new from September through January.
Nokon Sealed Housing
Nokon housing has been around in its original iteration for quite a while now. They claim that their proprietary linked aluminum housing system provides better shifting and braking performance by allowing less compression, but the real advantage when it comes to cyclocross is that you can run their housing liner for the whole length of the system.
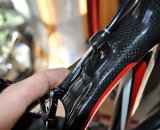
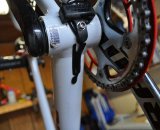
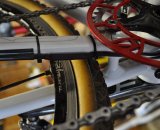
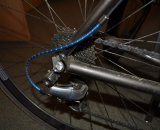
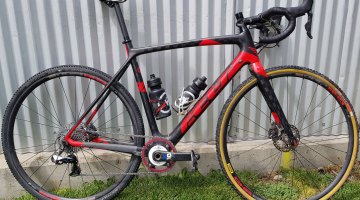
Lance Johnson, owner of the Hudz company and the director sportif of the Hudz-Subaru Cyclocross Team recently showed me his personal CGCX Cyclocross bike fitted out with Nokon Cables and Housing. Although he runs his without the continuous liner (for added lubing convenience – this is Colorado, after all), the liner can be seen running between the top tube stops and the rear derailleur. He also runs the liner from the front derailleur as well.
The only problem with the Nokon is that you can’t fully seal the ends of the system. While the liner runs from the shifter to the last ferrule, it leaves that last ferrule open to the elements. Probably not a big deal, but definitely worth noting if you’re looking for a completely sealed setup. It’s also quite expensive (around $170 for both brake and shifting), but will last you a good long while.
Gore Ride-On
I’ve found Gore Ride-On cable and housing to be the absolute best when building a SRAM-equipped bike. I recently had the opportunity to build a new Kona Carbon Major Jake outfitted with 10 speed Campy Chorus and found that it works just as flawlessly with other major brands as it does with SRAM.
Much like the Nokon housing, the Gore comes with a continuous cable liner that fits inside the housing. Unlike the Nokon, however, the Gore comes with nifty grub seals that keep muck from entering the liner from the exposed ends. It’s best to cut the liner about 1-2 m past the end of the last ferrule to ensure there’s plenty of overlap between the grub seal and the liner.
While the housing itself may not be as bomb-proof as Nokon’s, it’s a little more affordable – around $130 for both brake and shift systems.
Jagwire/Heat Shrink Tube
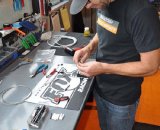
Recently seen sported on Katie Compton’s bike (Katie F’ING Compton!), heat shrink tubing is all the rage for sealing standard housing and cables. I recently popped down to Boulder Cycle Sport to watch mechanic guru Steve Shelp install a semi-sealed Jagwire cable system on Allen Krughoff’s Ridley X-Fire.
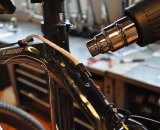
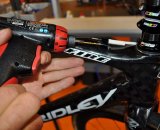
Steve uses a sealing kit from Jagwire that provides him with special ferrules that have an elongated nose and a liner to seal the exposed part of the cable. Heat shrink tubing that is typically used in electronics applications slides over the ferrule and is blasted with a heat gun. The tubing shrinks and seals the system. 1/4” tubing is used between the ferrules and housing, while 3/8” tubing is used between the ferrule nipples and the cable liner. To finish it off, the same Gore grub seals are used on the exposed ferrule ends. The downside – although this may only apply to Ridleys – is that Steve has to open up the cable stops a little bit to use the Jagwire ferrules… not a lot of people feel great about taking a drill to their expensive ’cross frames.
This is a great, economic way of sealing your housing. Standard housing can be used and the Jagwire sealing kit costs about $15 for both brake and shifting setups. Heat shrink tubing can be found at most hardware stores and will cost about $5 to do an entire bike.
Internal Di2
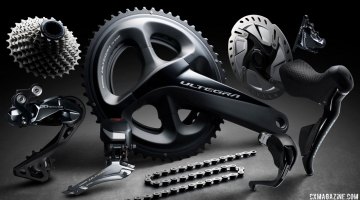
Okay, not technically a sealed cable system, Shimano’s Di2 electronic shifting seems to be the perfect solution for muddy ’cross races. Perfect, that is, if you want to cough up the cost of a small sedan. But if perfection is what you’re after, this is the best you can get.
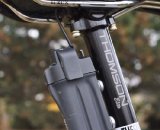
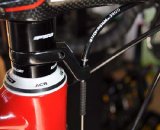
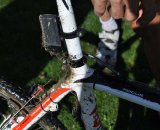
I’ve personally been using the Di2 on my own bikes this year with great success. No problems in the mud and muck so far! For my own bike, I drilled holes in my Cannondale CX9 frame and ran the Shimano internal wire kit, and I spliced the battery cable and run it up to the seatpost to get it off the downtube – exactly where I would grab it when shouldering my bike.
To seal the cable junctions, I’ve used the same heat shrink tubing that can be found on the Boulder Cycle Sport’s team Ridleys. Recently, while building the Eckmann brother’s cyclocross bikes, I was forced to cut and splice their Di2 cables to get them to fit their large Focus Mares frames. I used heat shrink tubing to seal the soldering job and neither Robin or Yannick have had any issues with their new systems.
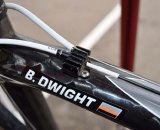
For another inexpensive DIY cable sealing method, see our article on “the Myerson method,” which has since been adopted as standard into Van Dessel cyclocross bikes. A similar setup also appears on Norco cyclocross bikes.
Photo Gallery:


