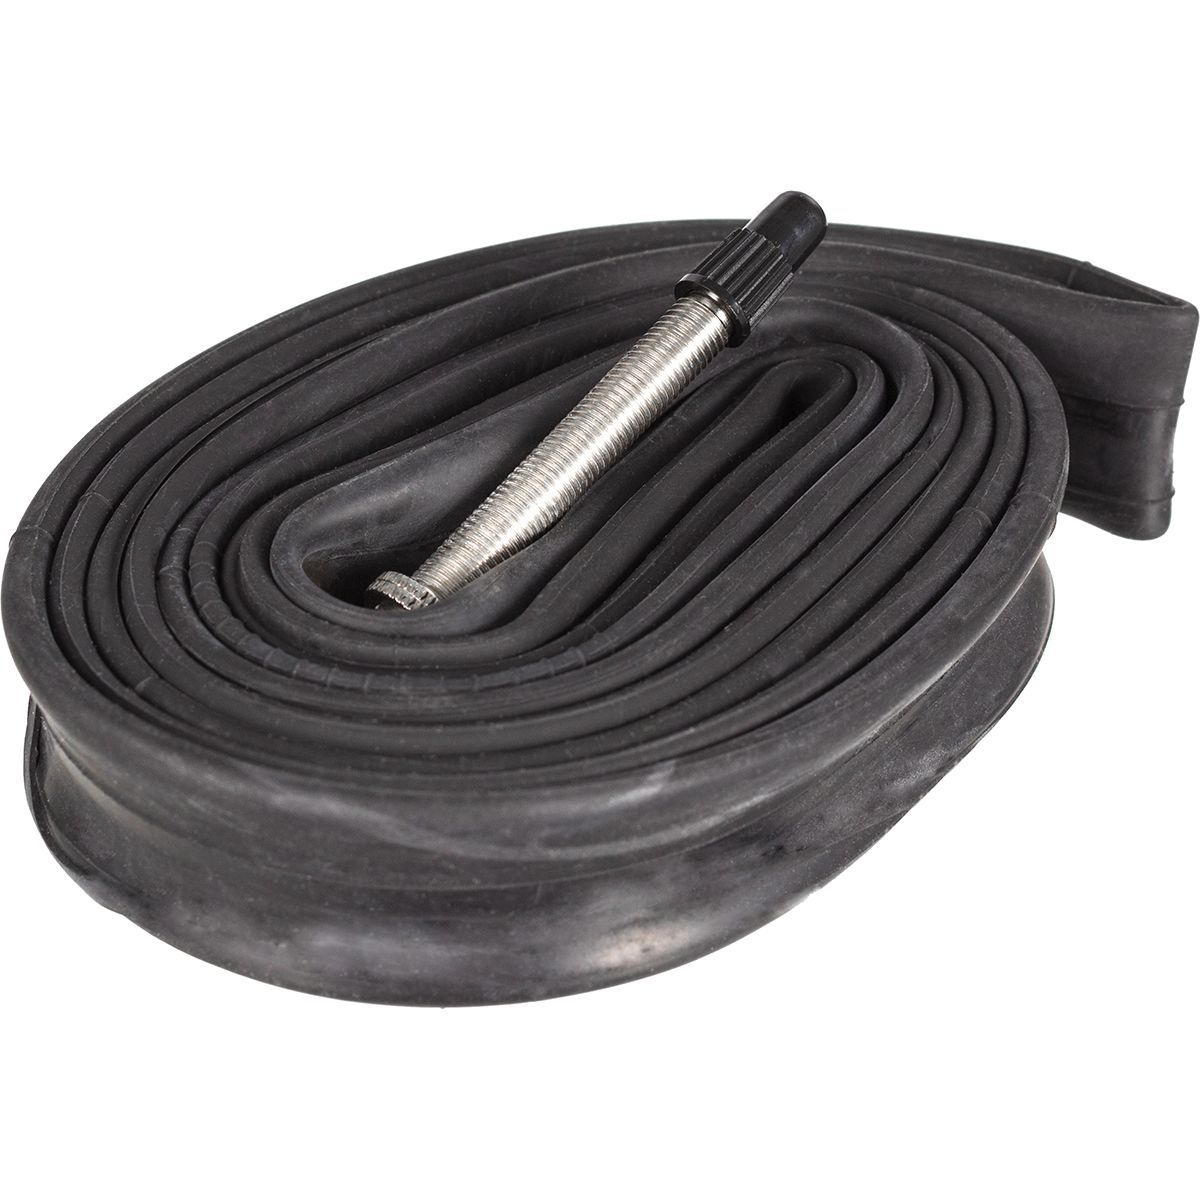

“Closed cell foam” PE backer rod. © C. Lee / Cyclocross Magazine
Part 1 of our series reviewing tubeless tire inserts featured the Tannus Armour Tubeless gravel tire insert, a relative newcomer in this category.
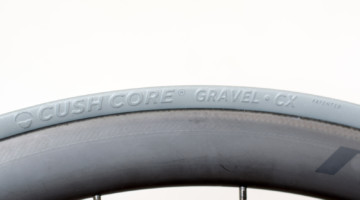
We reviewed the Cushcore Gravel/CX insert several years ago and found significant benefits for application to gravel and adventure riding, and perhaps cyclocross racing as well. The biggest demerit was the extra weight of the insert and perhaps the cost.
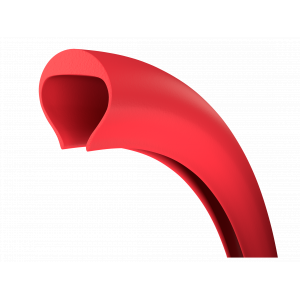
From San Marino in Europe, Tubolight inserts trickled their way into the gravel scene in the United States in 2019. At the time, the original Tubolight insert was remarkable for its low weight. The original Tubolight insert was quite simply a pliable foam tube, but the new design is a more sophisticated shape now.
Tubeless tire inserts offer rim protection from rock strikes, tire bead retention and some sidewall stability for cornering when using low tire pressure. Unlike a solid foam tire or tire bib mousse, a volume of air in the tire maintains a comfortable lively ride quality and keeps the system relatively light with low rolling resistance.
The Original Lightweight
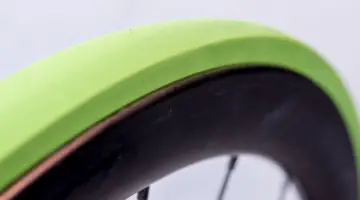
The Tubolight insert is not readily available in the United States, though you can purchase it through European vendors online. I have access to the original Tubolight for cyclocross tires that my friend Steve purchased before the pandemic, so can evaluate its form and composition. The original Tubolight seems to be a polyethylene rod. Polyethylene foam is a dense material that is pliable and does not absorb moisture, so ideal for this application. The cross-section is completely round and 30mm in diameter. It is essentially a small-diameter pool noodle donut, sized for a 700C rim with a cutout for the valve stem. I did not remove the waterproof tape covering the joint. The joint beneath the tape feels soft, so I presume there is no joint fastener and the hoop is bonded at the joint and taped over. This original Tubolight weighs 27 grams. That’s less than half the weight of the Tannus Armour reviewed in Part 1 of this series, and only a quarter the weight of the Cushcore Gravel insert.

The original Tubolight tire insert. © C. Lee / Cyclocross Magazine
DIY
Knowing the parameters of this, my friend Steve set out to recreate it. Numerous blogs and videos exist online regarding DIY tubeless tire inserts. Polyethylene rod is readily available in varying lengths as something called “closed cell backer rod” available in 1/4″ diameter increments. The closest to the 30mm diameter is 1 1/4 inches. It is available in bulk or by the foot. For two 700C wheels, 15 feet could do it with a comfortable margin for error for a pair of inserts.

Polyethylene backer rod dark color) vs the original Tubolight gravel insert. © C. Lee / Cyclocross Magazine
Measure the length of the backer rod by slightly stretching it around the rim channel. A snug fit will hold the round insert in the channel of the rim
Fastening the ends is a dilemma that will determine how you want to cut the rod to length. There are several adhesives compatible with polyethylene. We made a blunt cut with a razor knife and used Gorilla Glue, a polyurethane adhesive. I don’t know if this is the best choice, but it worked. The Gorilla glue forms a hard joint, so in the future cutting the rod on a bias for a diagonal joint will be better to avoid feeling the hard joint when the tire pressure is very low. I broke the glue joint when removing and re-inserting the DIY insert after 100 miles of test riding. I re-joined the insert with a zip tie, a method Vittoria uses for their AirLiner that will be reviewed in Part 3. Punch a hole through the rod vertically (from the tread side to the rim side) an inch from each end, insert the zip-tie and cinch tight. Trim and tuck the end into the hole to bury it below the surface. You could glue and zip-tie, but I don’t think that is necessary.

broken glue joint mechanically joined with a zip tie on DIY insert
Opposite the joint, use a razor knife to cut a one-inch long half-inch deep notch into the rod on the inside diameter-the side that faces the rim. This is space for the valve stem so sealant and air may flow in freely.
The original Tubolight Gravel insert is 27 grams per wheel. The cut and bonded DIY polyethylene backer rod insert is 32 grams per wheel.
Installation
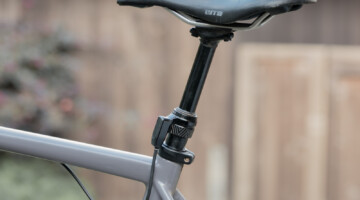
Push the round insert into a partially mounted tire much like a tube. In Part 1 I suggested pre-mounting a tubeless tire without an insert first to form and stretch the tire on the rim. If you made the insert tight-fitting, or even undersized the insert slightly, you may want to stretch the insert on another rim to further ease installation. A side opening valve stem is ideal for this type of insert.
I used the same tire and rim combination as I did for Part 1, a WTB Raddler 700C X 40 mated to an older Bontrager Aeolus rim. I originally picked this combination since it is burp-prone. The internal rim width is 21mm, which is still prevalent for wheels combining road and gravel but is on the narrow side for gravel wheels now.
Deflate the tire and unmount the tire on one side, leaving the other bead sealed if possible. Push the insert into the tire making sure to center the valve stem notch over the valve stem. Reinstall the tire bead. Push the bead well into the channel below the insert to make installation easier. A stiff tire lever or the Cushcore Bead Dropper is helpful here. The tire is easier to install and remove with each subsequent attempt since it has been in use now. I did not need the Kool Stop Tire Bead Jack this time around. The round bottom profile and stretchiness of the insert makes installation a bit easier than all the others in this review series. With a 40mm tire (actual width 39mm on the 21mm internal rim) the widest portion of the 31mm insert is not at the rim wall, and the radius of the insert disallows it from actually touching the bottom of the rim channel.

My test combination has a 21mm rim and a 40mm tire with a historically burp-prone fit. For my body weight of 155 pounds, I felt most comfortable with this combination at 24 psi and could drop to 22 psi before cornering became unpredictable and burps more common without an insert. This DIY insert is narrower than the tire, and the round shape causes it to sit only partially into the rim channel. I tried to make the fit as tight as possible to keep it in the channel as much as possible, but the insert does stretch a bit.
Deflated, the insert can be felt when squeezing the tire, but it does not feel as if the insert is exerting pressure against the sidewall as it does with the CushCore and Tannus Armour. The roughly calculated cross-section area of the polyethylene backer rod is 50% that of the inner tire and rim combination, which is 60% more than the Tannus or CushCore. The DIY insert is easier to mount and dismount since there is less pressure against the tire bead with its round cross-section.
I started with 20 psi and dropped the pressure by 1 psi for each lap of my ‘typical’ cyclocross course. I found I felt most comfortable at 19-20 psi, similar to what the other inserts allow. However, this round insert allows significantly more confidence than the other inserts as the pressure dropped below my comfort zone. The rounder profile fills the tire cavity and keeps the tire from folding as much as the flatter inserts do. Even if there is a less constant force on the sidewall, when the pressure drops and the tire compresses, the tall insert holds the tire’s shape a bit. I also surmise, that as the tire goes flat, you are then riding on the insert which compresses, ovalizes and supports the tire side wall a bit. I had much more confidence on my ride around the entire cyclocross lap on a flat tire with the round DIY insert than with the other inserts in this review series. The corners were still scary, but I could ride faster on the straight sections. The tire bead did not unseat during that run-flat lap.
I am unable to induce a burp with my curb test with the test combination. In the many miles I rode these inserts, I also used a smaller, cyclocross-sized tire, and tried the inserts on the rear wheel as well. This round DIY insert fits snugly in a 34mm WTB Vulpine I used as an example. That’s cyclocross race legal for non-UCI Masters, Collegiate and Singlespeed racers at Nationals in the USA. It is a bigger struggle to pull the bead around the insert with a tire that is nearly the same size. The insert now fills almost 70% of the tire volume. As a rear tire, I would run this at around 25 psi without an insert. With the insert I put 21 psi in this 34mm tire and on several occasions during a rocky descent I bottomed the narrow tire. Even though I could hear and feel the strikes, I did not cut the tire or damage the rim.
Hysteresis or Hysteria
A tubeless tire has less rolling resistance than the same tire with a tube. Rolling resistance comes from deformation of the tire and hysteresis, a phenomenon of energy lost in the deformation and rebound of the tire. In the case of a tire with a tube, the tube also must deform, plus there is friction between the tire and the tube. Of course, there is much more involved and many articles exist to explain rolling resistance of bicycle tires. In the case of optimal tubeless tire performance for cyclocross or gravel, will the introduction of an insert affect rolling resistance? A study was done by bicyclerollingresistance.com using a Vittoria Air Liner for road tires. This insert is a ride-flat insert with a different compressible foam than the Vittoria Air Liner inserts for gravel or mountain bike. Part 3 of our review will cover the Vittoria Air Liner for gravel. According to the study, the presence of the Vittoria Air Liner Road insert does not affect rolling resistance with tire pressures above 40psi. This particular insert supposedly compresses when under pressure, so has less contact with the tire. What can be gleaned from this is if the liner does not contact the tire, rolling resistance will not be affected. In my first review of the CushCore Gravel/CX, I mentioned the damping effect of the insert via its contact with the sidewall above the bead. This will add rolling resistance though I cannot quantify this, nor can I subjectively notice it.
The round cross-section DIY insert barely contacts the side wall of the tire with a 40mm tire inflated to 20 psi. It certainly contacts the sidewall of the narrow 34mm tire I ran it with. That said, this liner still allows cornering confidence with the lower pressure, so I surmise the liner contacts the tire with the compression that the low pressure allows.
The Verdict
The insert should protect the rim from a sharp strike, help retain the bead, and perhaps damp sidewall flex, all to provide more confidence to ride lower tire pressure for a given combination. The original Tubolight insert is one of the lightest tubeless tire inserts available. It is a successful design and spurned an update. The DIY insert performs the same as the original Tubolight for less than half of the cost.
Polyethylene backer rod is available from vendors for USD 1 per foot plus shipping from online vendors. We bought ours in a 50-foot bulk roll from another vendor for less than that. The total cost of a pair of these DIY inserts is less than half that of other tubeless tire inserts even with the cost of a zip-tie and a couple of side opening valve stems. Compared to other inserts, the DIY version using a polyethylene backer rod is less sophisticated, but among the lightest of the options and performs its duties.
Stay tuned for Part 3.