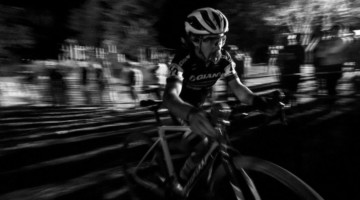
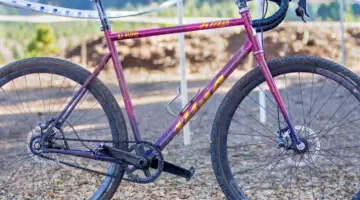
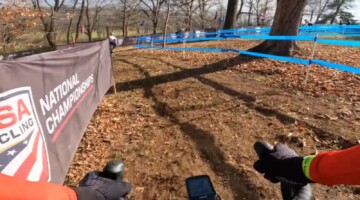

Training for cyclocross at night takes some special equipment. © Cyclocross Magazine
Days are shorter and our lives are busy. How does training time fit in to a day with already too few hours? Even Michael Birner’s three-hour training plan featured in Cyclocross Magazine’s Issue 7 is constrained by limited sunlight. You can train indoors on a trainer, or train in the dark of night. Most of us know the tedium of trainers. Night riding can be a great alternative to staring at basement walls, but the idea of being on the road in the dark is intimidating to the uninitiated. Thankfully, new headlight and clothing technology make the night train safer and more comfortable than ever.
Considering your personal safety is paramount. Visibility, of the route and to motorists, is a priority. Course choice should consider obstacles not only on the trail, but in the surrounding area as well: crime rate, homeless encampments, etc. Be sure you reconnoiter the course and area in the daylight hours. Train with a partner and always be aware of your surroundings.
The Workouts
If you have long stretches of unimpeded road nearby, power intervals are a good night workout. If there is a grade, hill repeats, or over/under steady state intervals are possible. Nearby features such as these can give you the freedom of the road, without the risk of being miles form home in the dark if things don’t go according to plan.
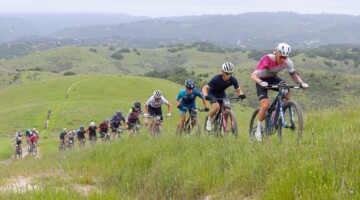
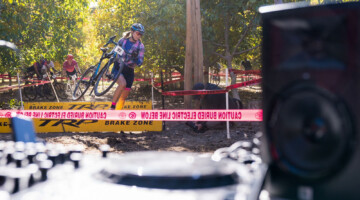
If you have a cyclocross course available, race-pace laps over varied terrain are invaluable, and in the dark your skills are enhanced by the mere fact that you will learn to look beyond the texture of the track and flow better over the course.
The Equipment
Use tough tires: changing a flat in the dark is no fun, and in urban areas you can be vulnerable. Consider tubeless with sealant or sealant filled tubes and pay attention to tire pressure to avoid a pinch flat.

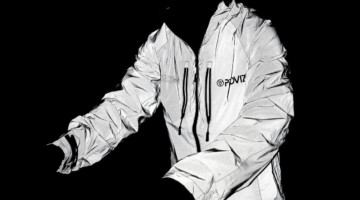
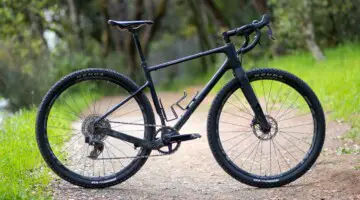
Reflective clothing has seen technological advances in recent years. Photo Courtesy Illuminite.
Reflective clothing is good to have for safety, and commute specific tights and jackets are available and can be good for training in the relative cold of the night. Illuminite clothing is also effective. At the very least, wear a light colored jersey, white or yellow. Additionally, reflective bands can be worn on your ankles and wrists. If you have ever followed a cyclist in your car at night, you know that pedal reflectors and reflective ankle bands are amongst the most effective piece of equipment and could be a lifesaver in traffic.
Eyewear is one of my areas of expertise. Many riders prefer to use a yellow or amber tinted lens. While this gives the perception of greater contrast or even of brightness, any tint is a reduction of light transmission. At night the need for brightness outweighs the perceived contrast improvement, and perceived it is. I can discuss the theoretical benefit of yellow filters in daylight conditions, but at night under mesopic or scotopic (optometrist speak for semi-dark or really dark) conditions, those benefits do not exist and the reduction of transmission is a liability. Get eyewear with clear lenses, and anti-reflection multi-coating is no doubt beneficial.
See the Light

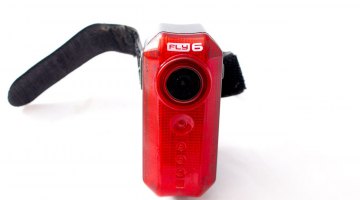
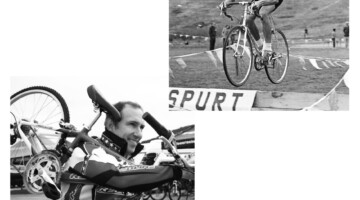
Helmet mounted lights will ensure a clear field of vision. Photo Courtesy Dinotte Lighting.
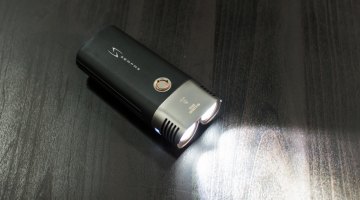
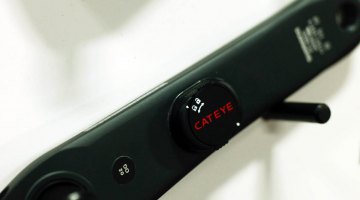
What lights to consider? For years, my wife and I trained on the road at night with a converted Cateye Halogen. Now, 24-hour mountain biking has spurned the development of brighter and more efficient lighting systems. Modern LED systems are very bright with low heat output and low energy consumption, and are relatively affordable and durable compared to HID systems.
Do not rely on those commuter LED lights – you’ll need 200 lumens minimum to see at training speed. Brighter is better, though beam pattern matters almost as much, and now systems with claimed 900 lumens are available. Consider two headlights, one helmet mounted and the other bar mounted. The helmet mounted light allows you to see into corners and spot check your surroundings, just don’t look your training partners in the eyes. The helmet mounted light also comes in handy to read your HRM or power meter, and to change a flat if you become unfortunate. The bar mounted light affords texture information on the ground due to shadows that the helmet mounted light won’t reveal. If only one light, I prefer bar mounted, but others may differ.

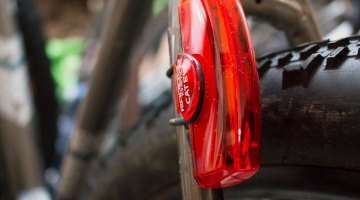
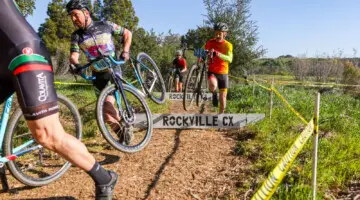
Bright tailights are required by law in many areas. Photo Courtesy Planet Bike.
The SSC P7 LED emitter is available in small self contained flashlights powered by lithium ion batteries for as little as $35 USD plus charger and batteries, for a total of $75 including shipping. Add the needed flashlight mount, such as the Two Fish mount, and you have a very bright light with one to three hour runtimes, depending on brightness setting, for less than $100! Of course, many bicycle specific multi-beam headlights exist, and new systems become available each season. I like self contained units, but more runtime is typical of systems with separate battery packs due to size requirements of energy storage.
A bright LED taillight (“blinkie”) is a necessity for the ride to and from the off-road venue, or if your night training is on the road. Brighter is better for the rear light since you will be dependent upon others seeing and avoiding you rather than the other way around. Get the brightest one you can find despite the size. The batter power consumption of these is minimal, with a set of batteries likely lasting weeks. Be wary of the fact that brightness declines as the battery power does. I’ve seen many bright lights in a dim state since the owner pays no attention to battery replacement until it ceases to flash. For safety, it is better to replace earlier than later. If you are training with a friend on the dirt and you are the leader, turn off the red flasher, as it can be annoying to the following rider. Just be sure to turn it back on when on the road!
Equipment I use presently:
- MTE SSC P7 Li Ion LED flashlight $35, dealextreme.com (look under SSC flashlights) or also easily found on eBay
, combined with a handle bar-mounted using a Two Fish lockblock flashlight holder. $7
- DiNotte 200 AA-S as a helmet light $199.
- Either a Planet Bike Superflash 0.5 watt LED rear flasher, Blackburn Flea rear light, or a Cateye LD 400 5 LED flasher.
- Reflective Ankle bands
- White gloves (much easier to find now that white is the new black!)
Your LBS should have most of the above options, with the exception of the SSC LED Flashlight and perhaps my Michael Jackson gloves. If not, you can browse on eBay, Amazon’s marketplace
or other online retailers for all these accessories.
Be safe, see well and be seen. Happy riding.