


Repairing a tubular tire can be tricky, but it can save you a lot of money in the long run.
When you invest in a set of tubular tires, you pray they never flat. Because let’s face it, repairing tubulars is a whole lot of trouble. However, while it’s tempting to just chuck flatted tubulars, there are a few options worth exploring first. The most obvious one is fixing the tire yourself, and it can be done if you’re a little handy with a sewing needle and a patch kit.
The basic gist of repairing a tubular tire is that inside every tubular (except for Tufo tires), there’s a latex or butyl tube, and if you flatted, then that tube needs to be patched. However, the tire is sewn around the inner tube, with the stitching covered in base tape. So, the first thing you need to assess is the damage: is the tire all right, or is it gashed to the point where a tube will pop out of it? If that’s the case, it’s probably time for a new tire. But if it’s a small puncture, it should be fixable. Pump it up and inspect it. (If it’s a super-slow leak, you might even try to inject some sealant briefly to see if you can plug the hole, but that’s for another article.)
The first thing you need to do, once you’ve figured out where the puncture is, is peel back the tape that’s covering the stitching, but don’t rip it. Then, very carefully, remove some of the stitches around the area. Once you can access the tube, treat it like you would any other flat, taking note whether it’s latex or butyl, clean the surface and patch it up! Once it’s been patched, the tricky part begins. Sew the tire back up, trying to keep the stitching similar to that already on the tire. After that, it’s a simple matter of reapplying the tape by gluing it back with latex (for example, Velo Guard Tire Saver Liquid Latex) and regluing your tire.
We asked a few mechanics for their tips and tricks regarding repairing tubulars, and they had a lot to say about the matter.
Expert #1
Jason Gardner of Jinji Bicycles had the following tips:
- Make sure the blade you use to cut the first thread is sharp. It seems like a no-brainer, but jamming a worthless blade into it causes it to break free abruptly and you can damage the casing.
- Definitely clean the surface of the tube with rubbing alcohol.
- Only remove as much thread as is absolutely necessary.
- When re-stitching, take extra care to try to match the previous stitching, both in hole usage and particularly in how tight. Too tight causes a ripple and too loose is just scary.
- Clean the tire and wheel with warm soapy water before you start; cyclocross tires especially. A clean tire is easier to grip and you won’t run the risk of dirt falling in your patch glue.
- It can’t be stressed enough: be patient and don’t rush it. You’re saving an expensive product; it’s worth the extra time.
Expert #2

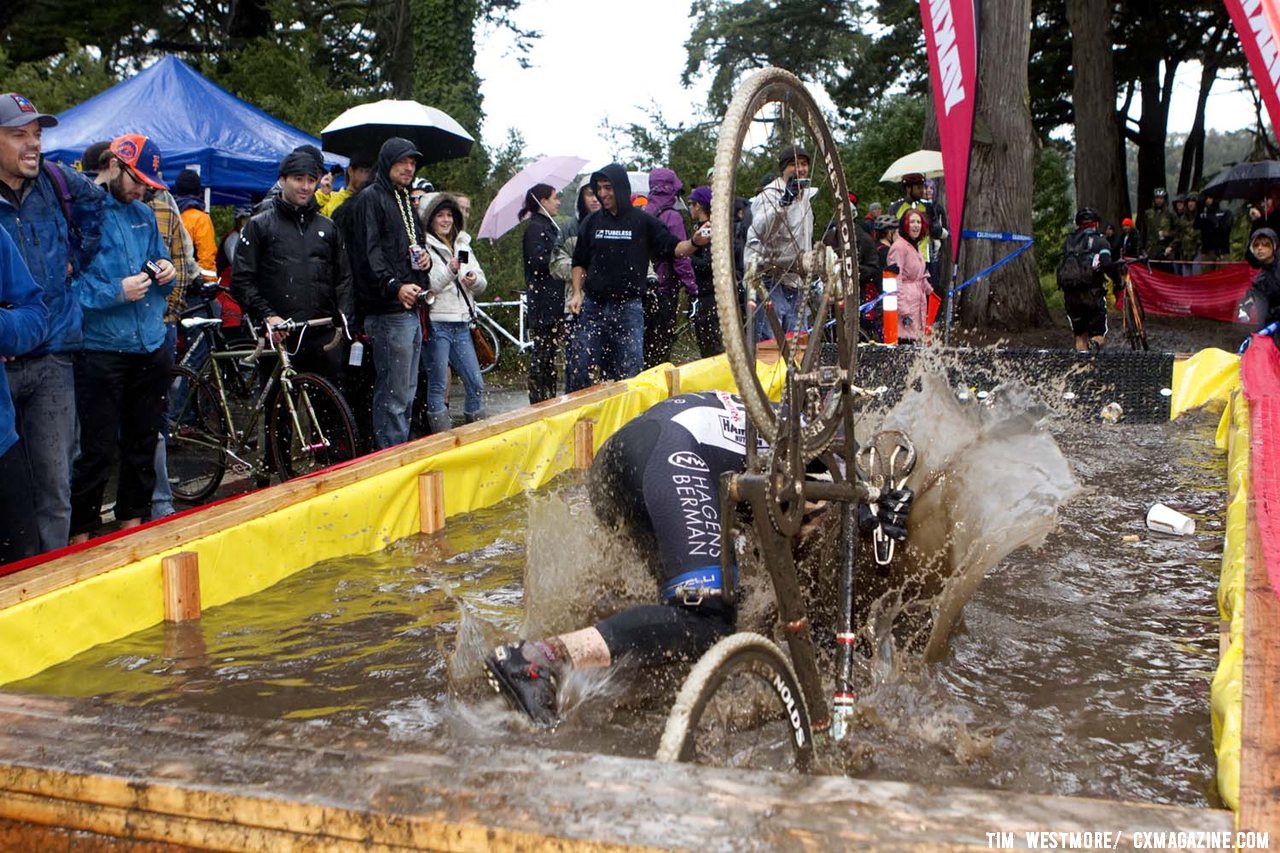
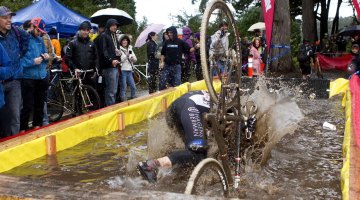
This racer should probably ride home and repair his flat tire using our tips and tricks. © Dave Haygarth
Jeremy Chinn of Journeymen Racing adds that, “For small punctures, sealants really cannot be beat. [Sealant] is available at any shop that caters to mountain bikers, quick to ‘install’ and capable of repairing pin pricks and small punctures.” Sealant is always worth trying before taking out the stitching and re-sewing the tire.
Expert #3
Finally, Todd Schoeni of Pro Bikes adds a few tips of his own:
- The most standard “tried and true” method ( if the puncture is not too large) is to deconstruct the tire. Locate the puncture in the tire, remove from the rim, peel back the basetape, and open up the stitching on the tire where you believe the puncture to be. Based on what type of tube it is (butyl or latex) you can use a standard patch repair kit, or use a section of latex tube to repair a latex tube. Once repaired, the hard part begins: gently put the tube back in the tire casing and begin the restitching process. You might have to get some specific thread to do this, but I have seen a good dental floss work well in a pinch.
- Restitch the section of the tire casing using the same thread holes you removed the original stitching from and then tie it off. Some prefer to tie the new stitching off in multiple locations, but if you do a good job then you should be ok with tying it of at the end of the re-stitched casing sections. Re-apply the basetape with a latex solution and be sure it adheres completely. After that, you can just re-glue the tire and hopefully have many more days of riding.
- Optionally, there’s Stan’s Sealant or Caffe Latex. The mountain bike world has embraced this and it works well, if your tubular tire has a removable valve core. it’s a pretty simple process. Remove valve core, use an injector to spray some sealant into the tube/tire. Inflate to about 30-40 psi and then rotate and shake. This will get the sealant to most of the nooks and crannies that might be responsible for the leak. If it seals, great! Continue to inflate it up to about 60 PSI or so and let it sit overnight. That will really show if it plugged the leaks. This can also be a great way to “puncture-proof” your tubulars. If there is still some sealant left in the tire, it could save you in a race if you happen to get another puncture. However, if #2 and #3 fail to work, refer to #1.
- The last tip/trick I know of is Aquaseal. It’s not truly a “repair”, but if you scrub your sidewalls and start to show some wear in a casing, it can work to stop the fraying of the casing and hopefully reinforce that area.
When Fixing Fails:

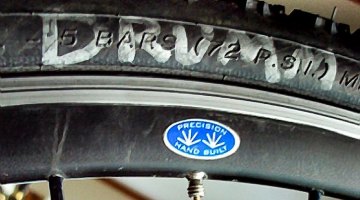
Prevention is the best medicine: tubular inspection can save your day! © Dave Drumm
Another option, if you’re willing to shell out a few bucks to have your tire repaired rather than buying a full new tire, is to send them away to a place that repairs tubulars. Tire Alert in Clearwater, Florida is highly recommended by Jeremy Chinn, and owner Ron Murawksy gave us a few tips of his own:
Cyclocross Magazine: At what point should people try to repair their tubulars, and when should they get rid of them?
Ron Murawsky: In most cases a bad cut does them in, say 8mm or larger. Other than that, worn out tread or weak worn out side walls are cause for getting rid of tires.
CXM: Any tips for do-it-yourself repairs?
RM: If you have a latex tube, just forget in, usually it does not work. Butyl tube, you have a chance, so try to sew the the tire back up as accurately as possible.
CXM: Any favorite tires you like to repair?
RM: I like FMB or Challenge.
CXM: How did you get into the business of repairing tubulars?
RM: I rode a new sewup 100 yards in a triathlon and flatted, and then I kept trying to find a way to fix it and eventually found a guy that sells sewing machines that can sew tires. After that, I put an ad in VeloNews, and the rest is history.
CXM: Anything different between repairing cyclocross tired versus road tires?
RM: They’re basically the same, but cyclocross tires are a little harder to sew straight.
Don’t want anything to do with your old tires? Consider recycling them! Places like Totally Tubular Design make bags, purses, wallets and other eco-friendly accessories from old tires, and they’re a super-stylish way of avoiding throwing out tires.
For a video on tubular tire repair, check this out:
Of course, some people would argue that it’s never worth repairing a tubular tire. Dave Sommerville of Ifixbyx has this to say:
Tubular tire repair, in my professional opinion, is not cost effective to offer as a service. Why? The time it takes to repair a tubular would cost between $40-60 in labor costs in a shop and between $4-10 in materials. Even then, the repair usually isn’t anywhere as good as the original. So, unless you flatted your really expensive tubular early in its lifespan, it’s just not worth it.
In cyclocross, many flats are caused by “pinch flats” due to the low tire pressure. A repair would require 2 or more patches on that section of tube. Many times this area then rides “lumpy” once repaired. To replace a whole inner tube requires so much work and really a special sewing machine.
If you are going to try to repair your tire, great care must be made to re-glue the base tape, especially if replacing the whole tube. Many times you can roll the whole tire or portion of tire with the base tape repair section still attached to the rim!
Additionally, some tires, like Vittoria, are practically impossible to repair as the base tape manufacturing method used requires such sensitive work that you can easily destroy the tire just to get to the needed area. It’s pretty much impossible to remove the whole base tape on these tires without ripping it to shreds.
Share this article with a friend, and we’d love a comment below with your experience flatting or repairing tubulars.