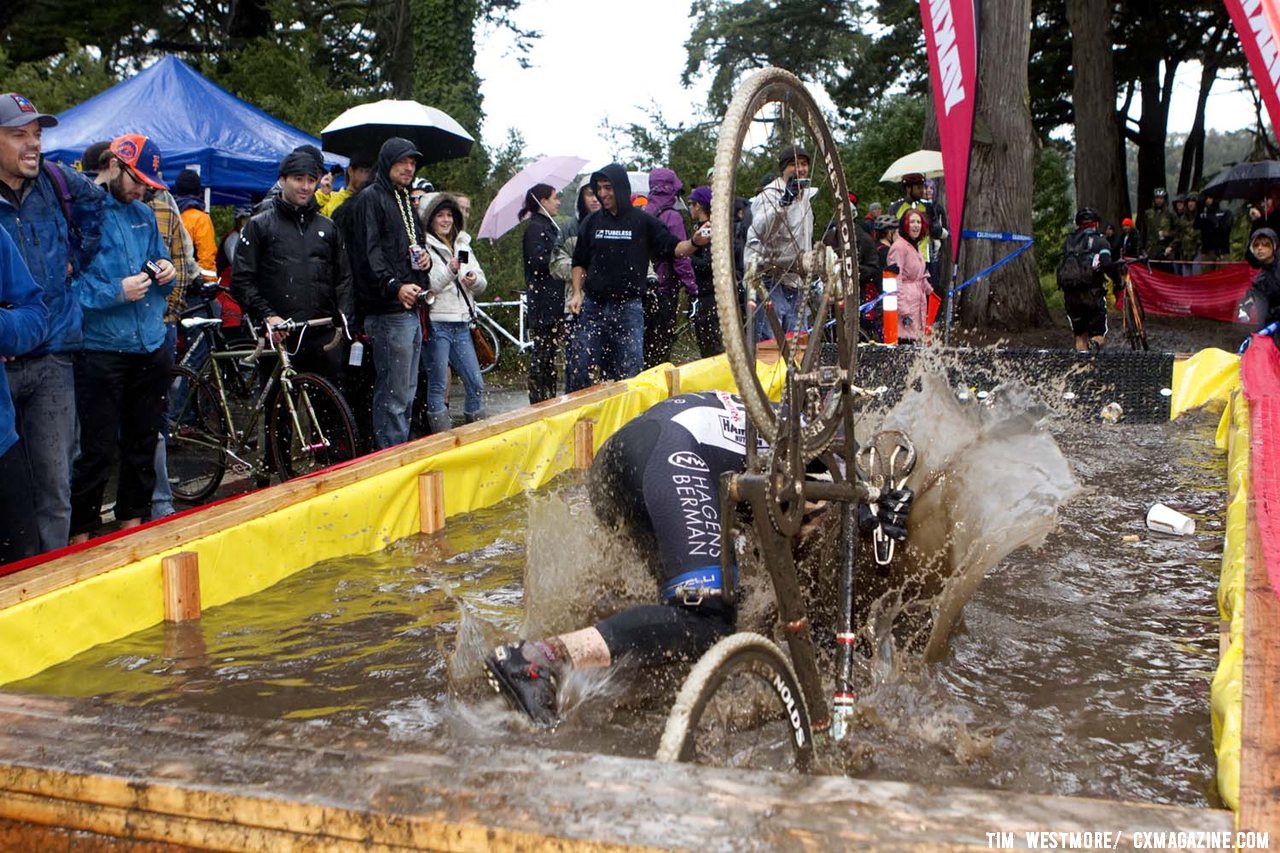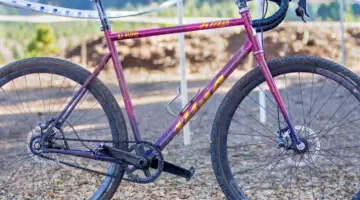


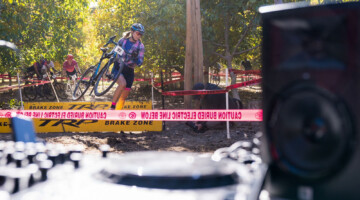
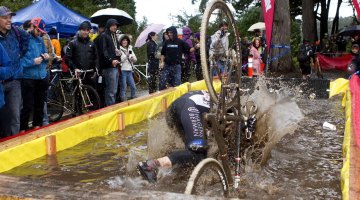


When you’re doing this to your bike every weekend, you should probably check it over before packing it up for the off-season. ©Brian Nelson
by Chris Mayhew
The season is over, but before you pack away the bike into the back of the garage until next September, there are a few things you should do to ensure than when you do pull it out, covered in dust and begging to be ridden again come cyclocross season, it’s in race-ready shape. Even if you’re still using your bike, racing gravel races or just using it for fun rides, it’s still worth taking a look and running through the bike to see what you should be repairing/replacing before September rolls around.
We’ll start front to back on the bike.
First up is tread. Spin the wheel slowly. Look at the tread blocks. Are they worn down? Any missing? Any holes in the tread? Is the tread peeling off?
Do the same thing, twice, for each sidewall. Any holes? Fraying? Cuts? Dry rot?
Lastly, if you have tubular tires, deflate and try to thumb the tire off the rim. Touch up any small spots where you can move the base tape off the rim. If you have large sections pulling free, it’s time to reglue that tire.
Take the wheel out and spin the axle by hand. Does it spin freely? Or is it notchy/gritty/rough? If you have loose ball bearings, you can just repack it. While repacking, also visually inspect the cones for wear. They should be smooth and shiny, not pockmarked. If the are pitted, replace them while you’re at it.
Cartridge bearings usually spin more freely as they wear until they totally bind up. To check those, put the wheel in the dropout as normal, then grab the wheel at two points, 180 degree from each other, and rock the wheel. If you feel play, replace the bearings.
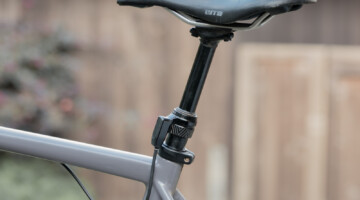
Next is the headset. Pick the bike up, lower the front end just a bit and slowly turn the fork using the stem. Again, notchy? Does it index (like a shifter)? Put the bike on the ground, lock up the front brake and rock the bike fore/aft. Any play? Usually the bottom bearing goes first (nice tip from Daimeon Shanks in a previous article!) but you might as well replace both at once.
Run through the gears in the stand. Ideally, you have another bike with new cables and housing to compare to. Dirty cables and housing kind of sneak up on you. How much force does it take on the lever to shift? Does it hesitate shifting down? Does it work better in one direction than the other despite adjustment? Time for cables and housing.
If you are using Gore, replace the cables regardless. The liner flakes off near the shifter and gums things up. Also the cable can break long before the housing gets dirty. Plus clean cables/housing help SRAM shifters last longer.
To evaluate the crank, remove the chain or set it on the bottom bracket. Spin the wheel. Again, notchy, gritty? Spins freely? Also grab the end of each crank arm simultaneously and rock them to check for play, much like checking wheels.
Rear derailleur check. This is somewhat cyclocross-specific, really. Take the chain off. Spin the derailleur by hand around the main pivot. It should move back and forth freely. Often the hanger bolt will rust from too many washings and not allow the derailleur to pivot freely. The second check is to move the derailleur side to side via the bottom of the cage. There should be no play. Again, the pivot bolt can wear over time, especially with grit, and make the rear derailleur have a lot of lateral slop which degrades shifting.
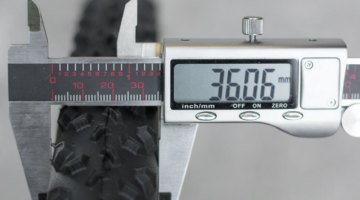
Check the chain. Get a ruler and put a small bit of tension on the chain. Measure from the center of one pin to the center of another one at 12″. They should line up center to center. If it measures 12 and 1/16th it’s time for a new chain. 12 and 1/8th means time for new chain and cassette.
Visually inspect your pads. If they have grit or shavings in them, file them down until the surface looks new again. You can do this for the life of the pad but near the end of its life (last 6-8mm) it’s often best just to replace the pad. As the pads wear, also make sure to check that they are not diving under the rim. If there’s a lip running along the bottom of the pad you need to file that off and raise them a bit lest they end up under the wheel.
Stay tuned for more tips on off-season bike storage!