


Haven’t yet begun your season from all of the gravel riding? With all of the cyclocross races now happening across the country, with even the Belgians coming to the United States to start their season off on a fast pace, perhaps you have already gotten your feet a little muddy. If your legs on the bike feel fine, but you feel like they need a little reminder of “stepping thru” the motions of dismounting and running barriers, then we have the perfect article from Issue 29 for you about setting up one of the most least expensive barriers you can make.
As a double bonus, our D.I.Y. project doubles as a great way to practice bunny hopping without worrying about a wheel or a crank coming down on something solid. For quality content like this, pick up your back copy today, mailed first class, or get a digital version for quicker gratification. Read it here.
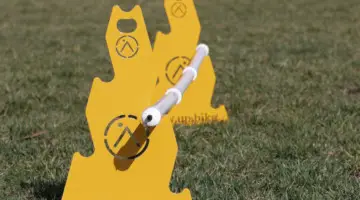
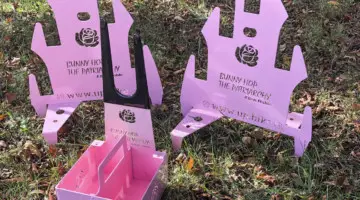
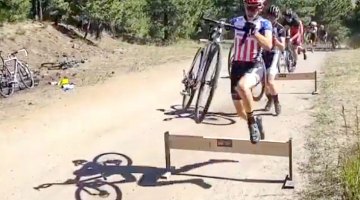
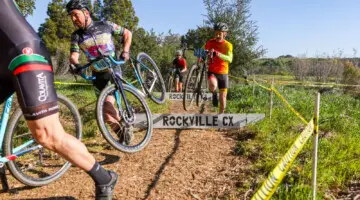
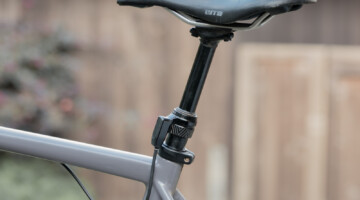
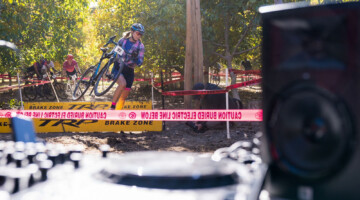
Creating barriers can be relatively inexpensive and easy to portage. © Cyclocross Magazine
Cyclocross barriers can be intimidating for newbies, and at race pace, a set of high-speed 40 cm (18 inch) barriers can even make veteran cyclocrossers worry that with one misstep they will become the subject of the next “Joey Is Okay” video.
The key to getting over your fear, and blowing by your competitors in the process, is lots of practice. While clinics and cyclocross clubs may have sets of wooden barriers, how can you go about getting regular practice, on your own schedule, in a convenient location? The key is having practice barriers at your disposal. We’ve published articles on how to build your own PVC barriers, and we enjoy and have awarded the convenience and portability of Cross Propz’s ready-made PVC barriers (starting at $39.95 plus $15 shipping for one set). But if budget or time are severely constrained, or portability is your top priority, we’ve got another option for you.
For years we’ve been using an ultralight, ultra-adjustable, ultra-portable DIY barrier that also happens to be ultra-affordable at less than $3 per barrier. Want to get better at barriers? Set up a short, barrier-dense race course for your Wednesday Worlds and you’ll get plenty of barrier practice in a friendly race environment.
SUPPLIES
What you need to make one barrier:
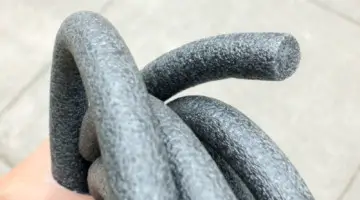
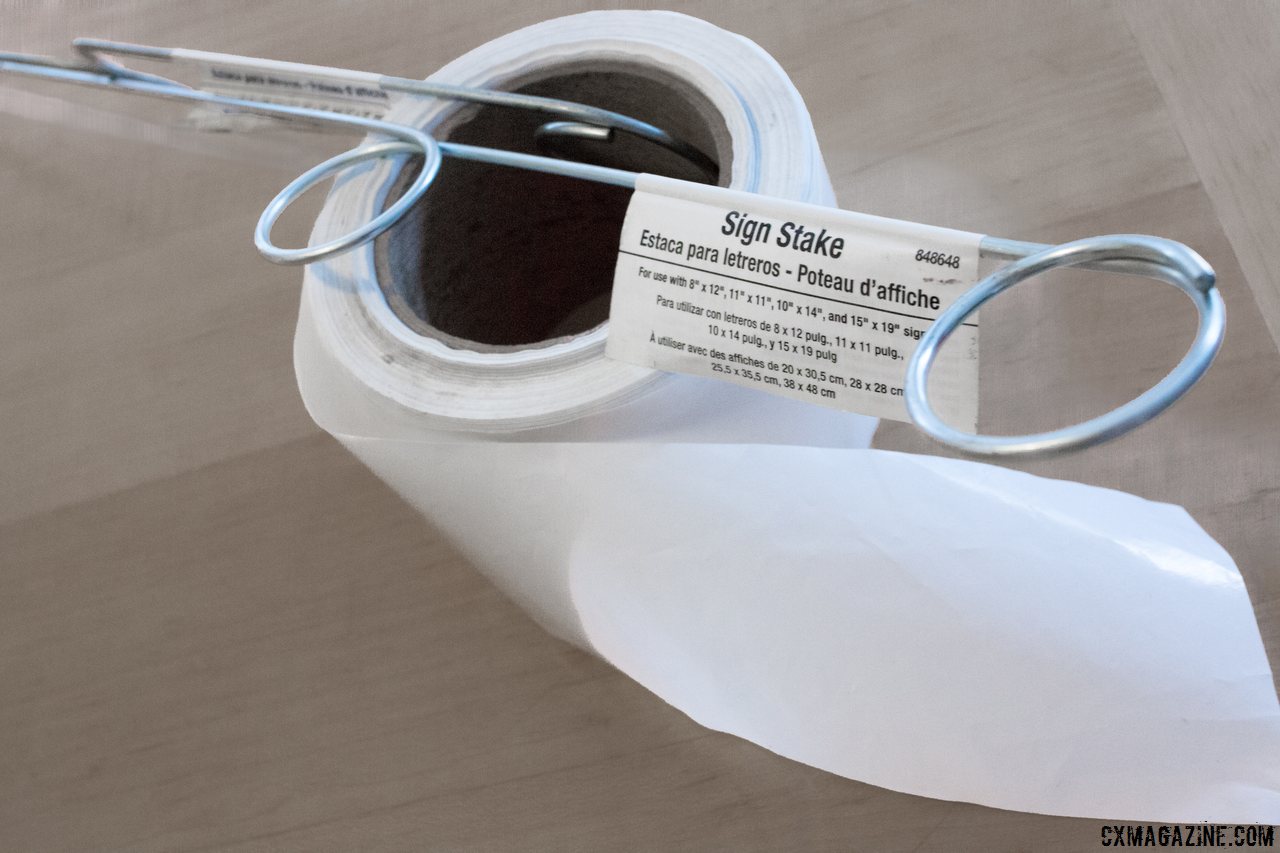
Two pigtail sign holders, 28″ long ($.99 each at Home Depot)
One roll of 3″ plastic caution tape ($5.49 for 200ft at Home Depot, plain or “red danger” tape are also options)
Pick up enough supplies for six barriers for $17.37, or just $2.90 a barrier. Sure, it’s a bit cheap-looking, but it works for pop-up practices at the park or in the backyard.
SETUP
Determine desired barrier width. Add an extra foot (for knots) and cut off the appropriate length of tape.
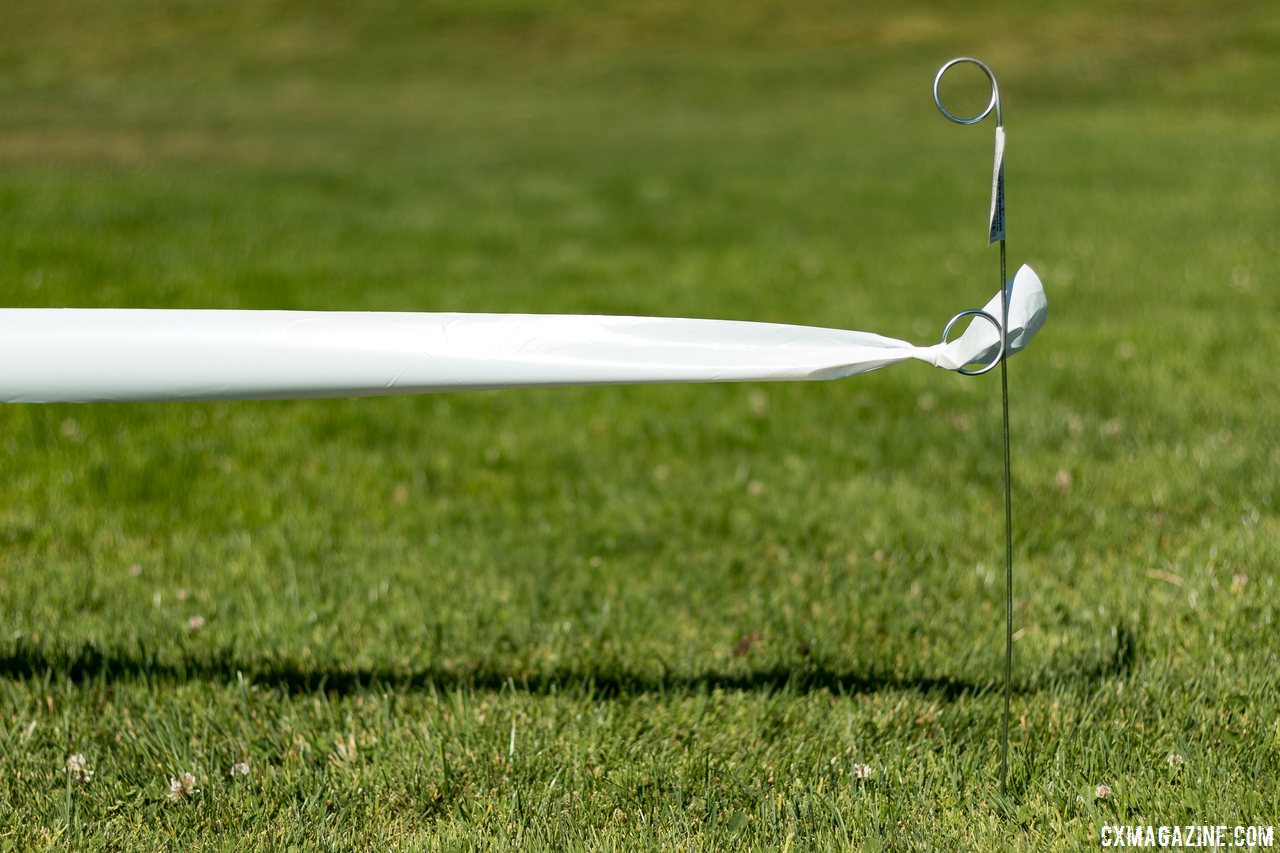
Tie one end of the tape to one of the wire loops on the sign holder stake. Choose the upper loop if you’re looking to mimic 40cm UCI barriers, the lower one if you’re looking to ease into it—or have a lot of newbies training with you.
Tie the opposite end of the tape to the corresponding loop of the other stake.
Creating barriers can be relatively inexpensive and easy to portage. © Cyclocross Magazine
Installation is simple and obvious, but when pushing the second wire stake into the ground, pull the tape extra tight so that the stakes offer some spring tension to keep the “barrier” relatively level (at least until someone catches a foot on the tape).
CHEAP IS CHOICE
Here’s what we like most about this setup:
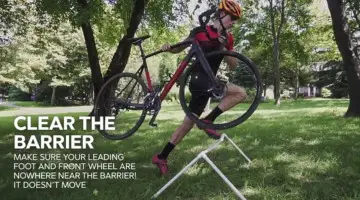
Purposely flimsy: Reduce the intimidation factor. Clip a foot at high speed and they’ll give a bit and the tape can snap, instead of tripping you up. As an added bonus, the lack of cracking PVC pipes also makes this system safe and inexpensive for practicing bunny hopping. Just bring the unused portion of the roll of Caution tape with you.
Height-adjustable: Assuming your ground isn’t frozen, the barriers are infinitely adjustable in height. Start low, and then set them higher as racers get more comfortable. Use either (or both) wire loops for higher or lower starting settings.
Visible: Bright-yellow caution tape is visible for nighttime practices.
Ultra Portable: You can easily pack 10 barriers into a backpack or messenger bag and ride to practice, and four barriers weigh less than a full water bottle.
Cheap: Did we say they’re cheap? You can build a barrier for less than $3 each if you build six or more with your roll of caution tape.
Repairable: You picked light and cheap, so you don’t get strong, but bend a stake or rip the tape, it’s repairable in seconds. You can make them wider or narrower on the fly.
Setting Up Hints
The small-diameter wire holders install best in grass.
Make them wider than necessary. If someone breaks the tape, you can just tie the two pieces together mid-practice.
Consider implementing a rule during practice races so that if someone knocks down a barrier, he needs to stop and fix it. This will prioritize clean technique and avoid all the barriers being taken out on the first lap by an over-ambitious rider.
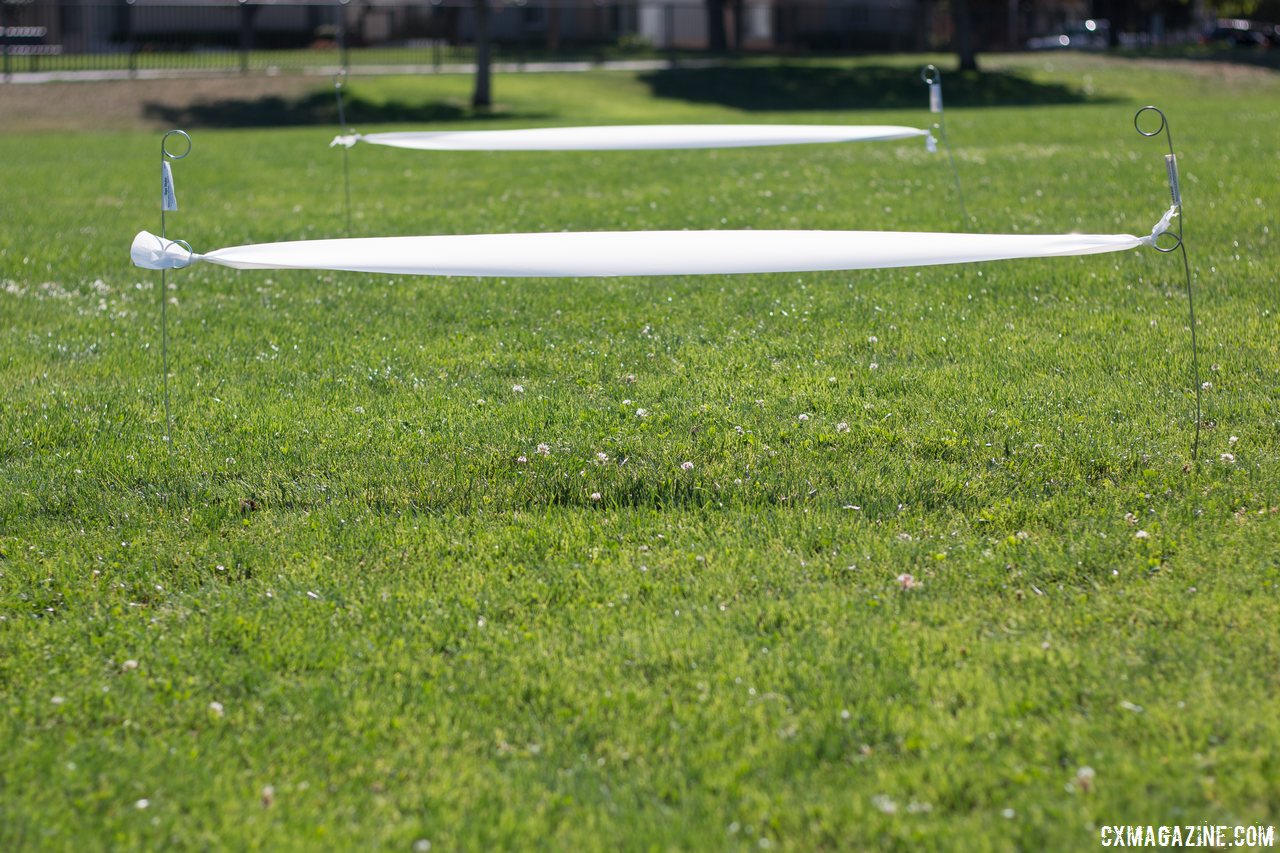
Creating barriers can be relatively inexpensive and easy to portage. © Cyclocross Magazine
Use two rows of tape, between both loops of the pigtail sign holders, once you’re ready to practice regulation-height barriers.
Move them around. Set up a set of high-speed barriers, one set halfway up a run-up, and another with a big gap between barriers that will tempt some to remount in between. Your goal is to mimic any possible scenario you may see on the weekend race course.
Upgrade
Not meeting your needs? As with any gear, there are potential upgrade options:
Reinforced caution tape. 500 feet of the more sturdy tape costs $17.96, a 30% premium.
Double-leg sign plastic sign holders. These offer more stability but are heavier and less portable. $4 each and up.
Reflective tape. Find yourself practicing at night, with lights? Add any lightweight reflective material to your tape and you’ll see the barriers from miles away.
Practice makes perfect. This season, your path to perfection and podiums can start at your local hardware store.